
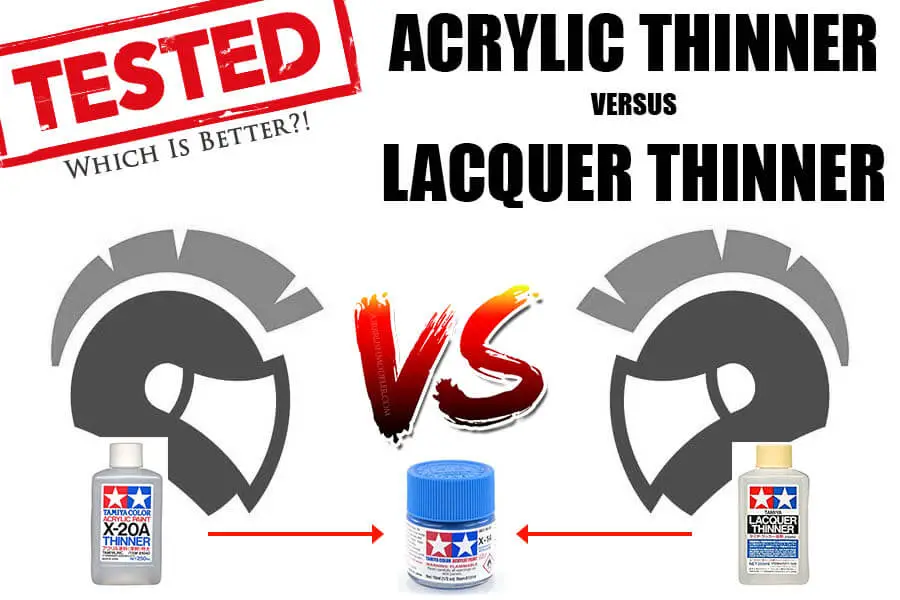
What Do You Thin Tamiya Acrylic With For Airbrushing
Tamiya’s water based acrylic paint can be thinned with their proprietary X20-A acrylic thinners, iso-propyl alcohol (IPA), distilled water, and I’ve even shown that it can be thinned with regular tap water with outstanding results, but few people seem to realise that it can also be thinned with Tamiya lacquer thinner.
👍 To see my airbrushing test experiment of Tamiya acrylic paint thinned with tap water click here.
How To Airbrush Tamiya Acrylic Paint
For best results Tamiya acrylic paint should be thinned with Tamiya acrylic thinners to a ratio of approximately 1:1, and airbrushed at the lowest possible air pressure setting that gives proper paint atomisation and coverage.
However the conditions you’re airbrushing in can also play a part, for example temperature and humidity variations can all affect your paintwork and may require slightly different thinning ratios.
So if a 1:1 thinning ratio needs adjusting to work properly for your conditions and equipment then don’t stress, that’s completely normal.
But as mentioned above, Tamiya acrylic paint can be thinned very successfully with Tamiya lacquer thinner, with some people saying that the lacquer thinner works significantly better than the proprietary acrylic thinner…
Hmmm… 🤔
Well, there’s only one thing for it, it’s time to see how they stack up against each other in an acrylic paint airbrushing face-off!
The Tamiya Acrylic Paint Lacquer Thinning Challenge!
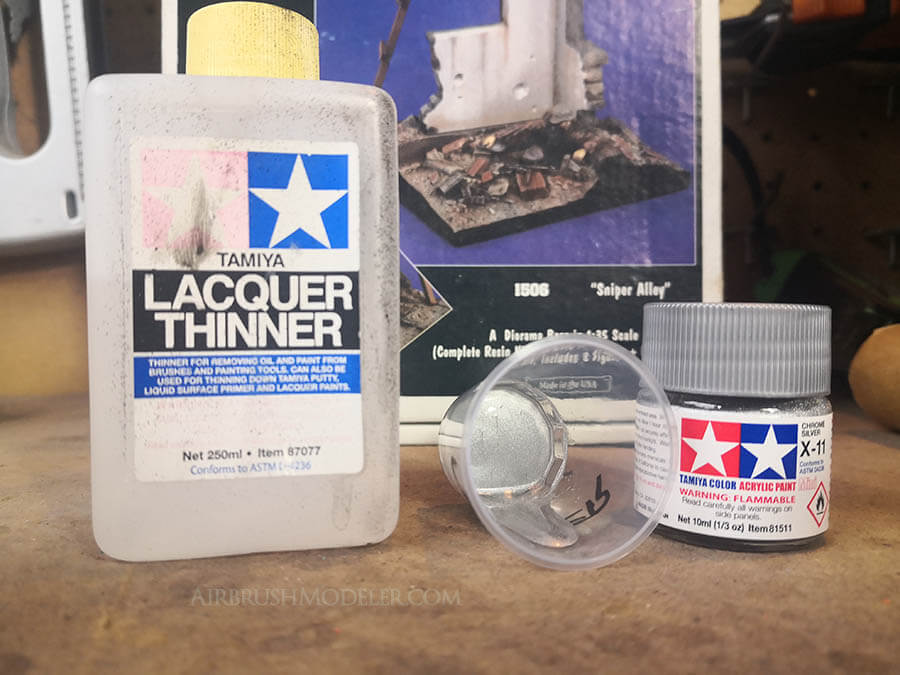
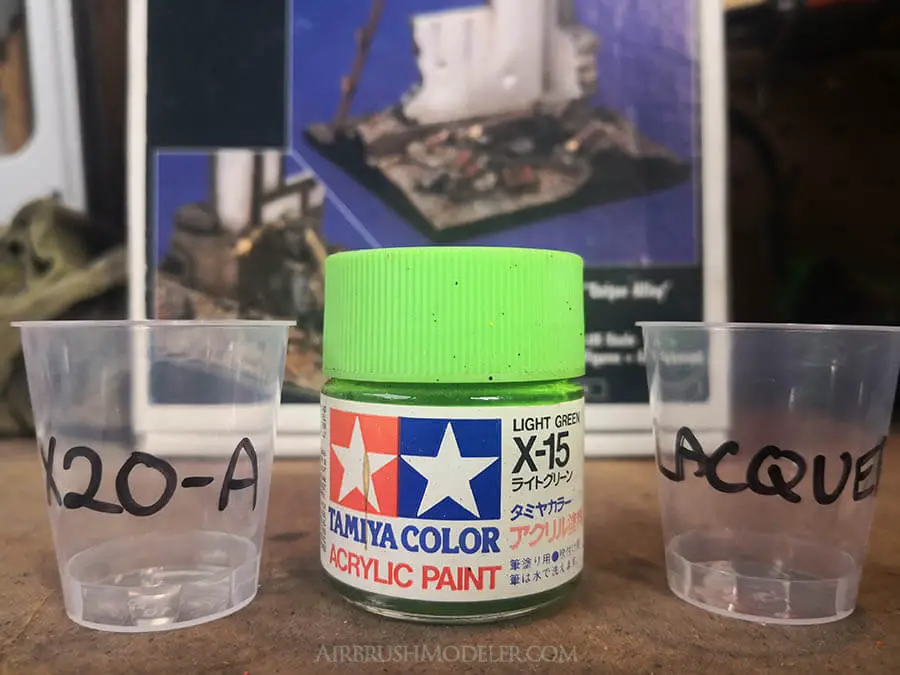
This test will involve taking Tamiya acrylic paint and thinning one portion with Tamiya X20-A acryrlic thinners, and another portion of paint thinned with Tamiya lacquer thinners.
It’s important that we use Tamiya’s brand of lacquer thinners as it’s specifically designed to be used on plastic models and the like, and will not eat the plastic away.
No two thinners are made the same, so if you use a general purpose or automotive thinners to in your model paint you may find that it eats away at the plastic and totally ruins your paint work and your kit.
We’re trying to find out two things with this experiment:
- which one airbrushes better, and
- which one gives the best final paint job once the paint is fully dried.
⚠ As with everything in modeling, you will always learn and improve better if you actually do the test yourself rather than just look at it being done, so I highly recommend you grab yourself some plastic desert spoons to experiment on or some old scrap kits parts. 👍
So without further ado let’s dive straight in and get the step-by-step process…
Step 1 – Prime Two Or More Test Pieces
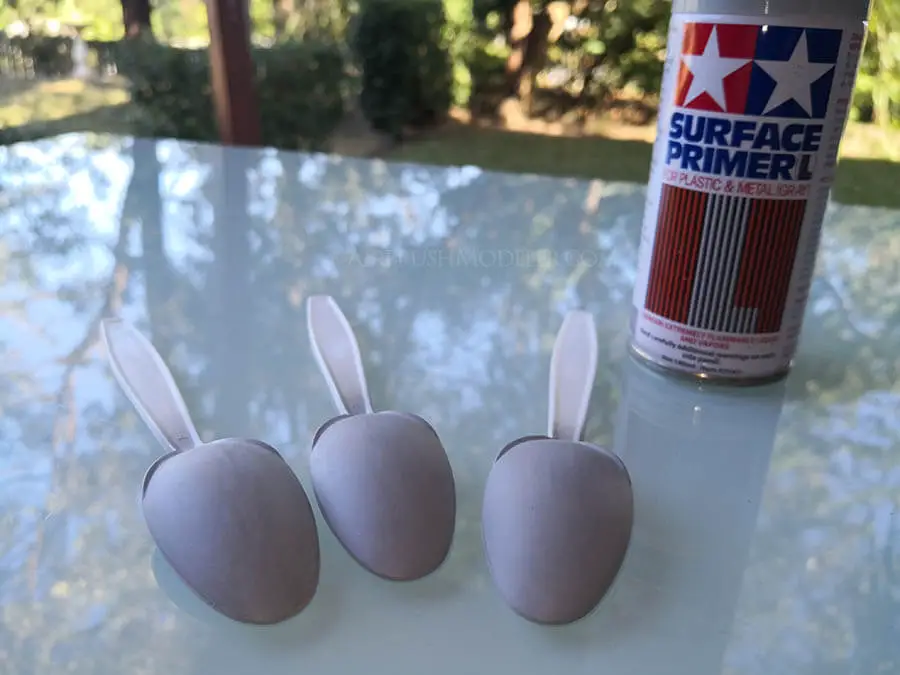
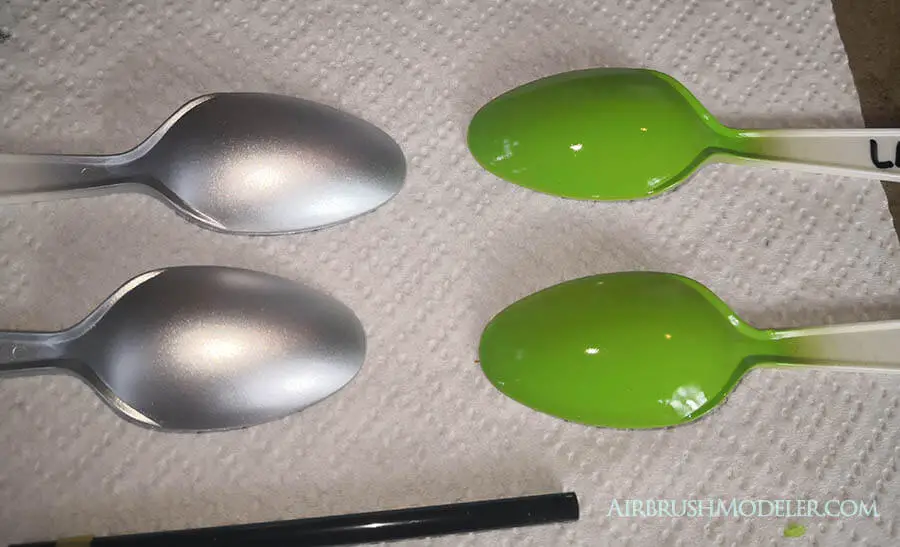
I’m using plastic spoons to test my airbrushing on, I picked up a pack of fifty from my local grocery store for around two bucks, so an extremely cheap way to get plastic test pieces for practising my painting skills.
I used Tamiya primer straight from the can, a single mist coat then a single wet coat followed by sanding smooth with 800 grit sandpaper once the primer was dry.
👍 For a head-to-head comparison of using primer straight from the spray can versus airbrushed primer check out this link, you may be surprised!
Step 2 – Thin Two Lots Of Acrylic Paint With X20-A And Lacquer Thinner Respectively
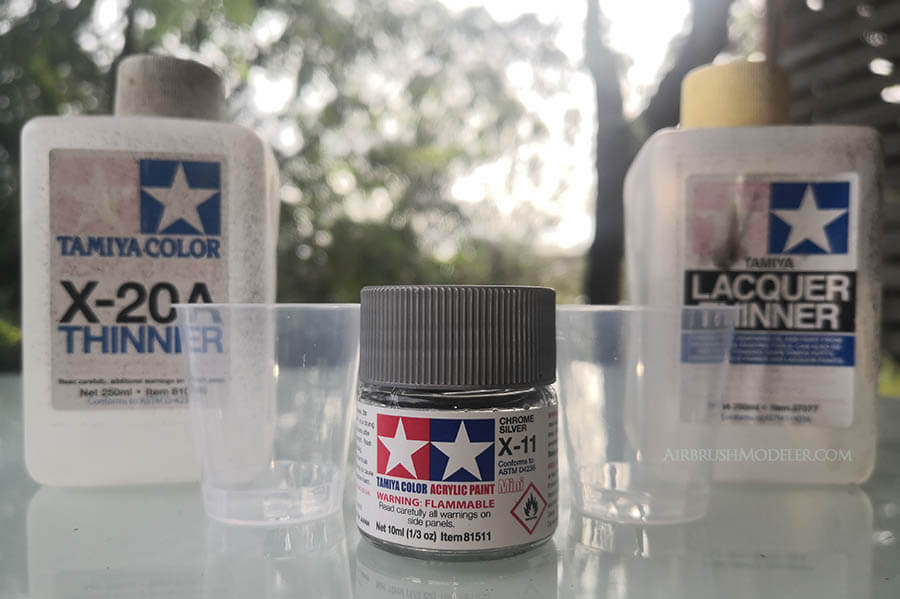
I’m going to use exactly the same amount of paint and thinners in each part of the airbrushing experiment, and will use a 1:1 ratio of paint to thinners.
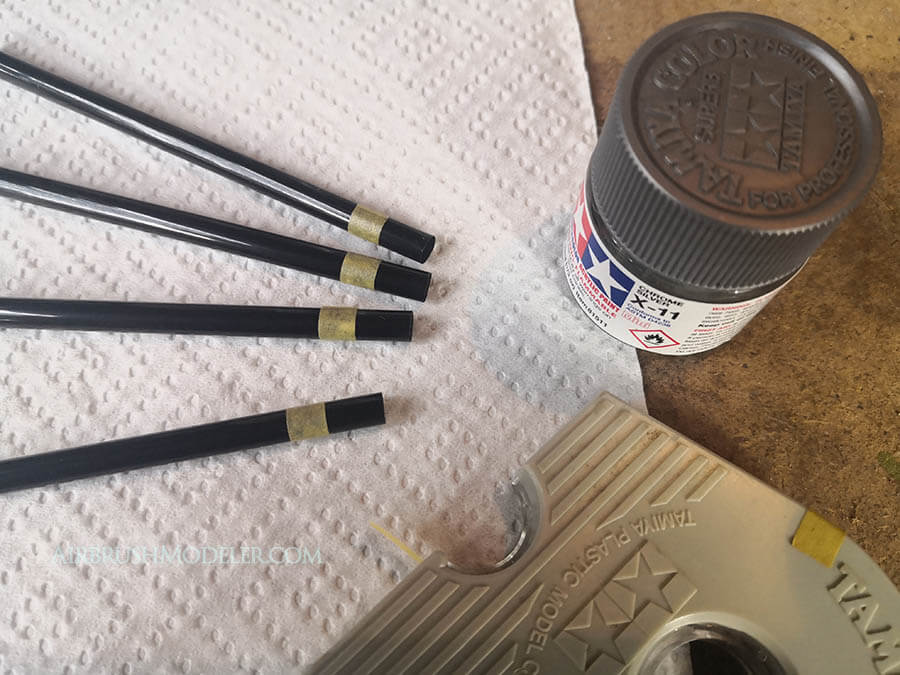
To measure the paint I’m going with a ridiculously high-tech method 😜 of marking drinking straws at a fairly random and arbitrary point with some Tamiya masking tape, and the straw will be dunked in the paint and thinners up the tape line and pinched at the top so that the vacuum holds the paint inside.
Is this a perfect way to do it that will result in exact measurements every time…?
Not entirely.
Do I care…?
Care factor Nil. 😎
If the differences from using this method, which won’t be much at all, are enough to throw out the test results, well the test was doomed to failure anyway.
The paint and respective thinners were introduced into the mixing cups using new straws each time, and just for reference the mixing cups are simply small plastic shot glasses bought at the grocery store extremely cheaply, from memory 200 cost me a few dollars.
So the paint is ready to go, I’ve got my Iwata Revolution CR airbrush ready to go, and I’ve set my compressor to 18 psi which I’ll keep consistent over both test sprays.
Let’s do this…
Step 3 – Conduct The First Full Test Spray With The X20-A Thinned Paint
The first part is the ‘control’ part of the experiment where I’m airbrushing the paint thinned with Tamiya X20-A thinners.
I’ll paint on one mist coat and then a wet coat, and if I think it needs a second wet coat then so be it.
You don’t have to do it exactly this way, just get the paint however you’ve done so successfully in the past, don’t stress on how many mist or wet coats you use as everyone will have their own unique approach to it.
Mist Coat
Interestingly, at a thinning ratio of 1:1 using the X20-A acrylic thinner and an air pressure of 18 psi, the airbrush actually sputtered a little.
I don’t recall this being common with Tamiya acrylics and my airbrushing setup, so at the moment I’m putting it down to either the cold whether and the cold paint not atomising properly, it’s maybe 16 degrees Celsius where I’m airbrushing today, not normal for me at all here in Australia.
There’s a chance it’s also the metallic in the silver paint I’m using which, from my research, can make the paint act as if it’s thicker than non-metallic paint… something I’ll put to the test later on as you’ll see.
To counter this slight airbrush spitting and sputtering I up the air pressure by about 15% to 21 psi and the problem goes away.
It was only a small increase in air pressure but it seemed to do the trick, and will be interesting to see if the lacquer thinned paint has the same sputtering and speckling issue.
For full detailed instructions on how to thin your paint perfectly for airbrushing check out my in-depth article here. 👍
Wet Coat
I put down two wet coats, also at 21 psi, and get good coverage so no more wet coats are required.
Step 4 – Clean Your Airbrush Thoroughly
I don’t want the prior paint and thinners contaminating the next step of the experiment, so a good clean is in order.
I’m not going to strip the airbrush down entirely but I will remove the needle and give it a good clean, as flush out the airbrush and clean out the cup thoroughly as well. 👍
Step 5 – Conduct The Next Full Test Spray With The Lacquer Thinned Paint
Now we’re getting down to business and will take a very close look at exactly how the lacquer thinned paint atomises and sprays, and what the paint finish looks like right after application.
The process will be exactly the same, a mist coat followed by at least one wet coat as required, and the pressure set on the compressor at 18 psi.
On adding the lacquer thinner to the silver paint I immediately noticed that it seemed to mix in a lot more thoroughly than with the X20-A acrylic thinner.
You can see below the X20-A thinned acrylic paint on the left, and the lacquer thinned acrylic paint on the right just after mixing each one.
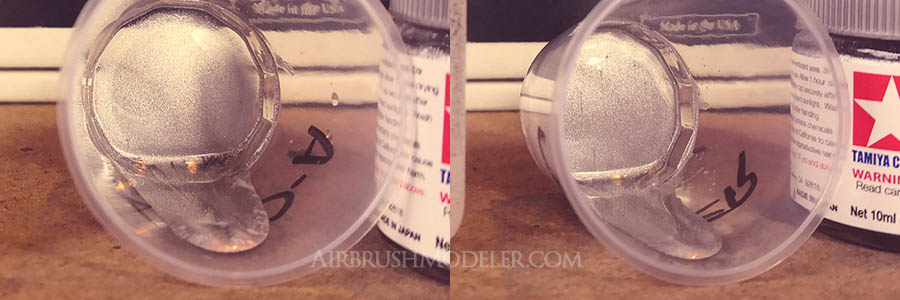
It’s as if the X20-A thinned paint was drying a LOT quicker than the lacquer thinned paint.
This could be a problem in that:
- The paint may dry a little before getting the item being painted which will be detrimental to the overall finish, and
- It may start to dry even sooner, as is common with acrylic paints, and result in a situation called tip dry, which, just like it sounds, is when the tip of your airbrush needle accrues dried paint and ruins the spray pattern to some degree.
👍 For more detailed information on tip dry and six effective ways to avoid it, check out this in-depth article.
Mist Coat
I was very keen to see how the lacquer thinned paint airbrushed at 18 psi relative to the X20-A thinned paint, and very interestingly it did not have any of the sputtering or speckling problems I had with the X20-A thinned paint. 😮
It was immediately evident that the paint was atomising perfectly at 18 psi and was going down on the test piece much better than the X20-A thinned paint, even given the pressure differences used!
Wet Coat
Only one wet coat was used with the lacquer thinned paint, although I don’t necessarily think that this was due to it going down better as such.
I’ve noticed that my own technique sometimes allows me to get the job done with one wet coat, sometimes two, and occasionally three.
Step 6 – Compare The Two Results!
But first…
Before we dive into the results… I did a second test with a non-metallic colour, Tamiya X-15 Light Green, to see if the pressure discrepancies between paints with different thinners was consistent.
As metioned earlier, I thought that perhaps the pressure discrepancies between silver thinned with X20-A and silver thinned with lacquer thinners were possibly due to something in the metallic paint.

Just to make sure, I did the entire experiment over with the light green…
…and the result was…
The same!
From this I gather than that’s just how the Tamiya acrylic paint reacts with my airbrushing set up and current cold climate, but regardless the end result is that the Tamiya lacquer thinned paint will atomise perfectly at a lower pressure than the X20-A thinned paint. 👍
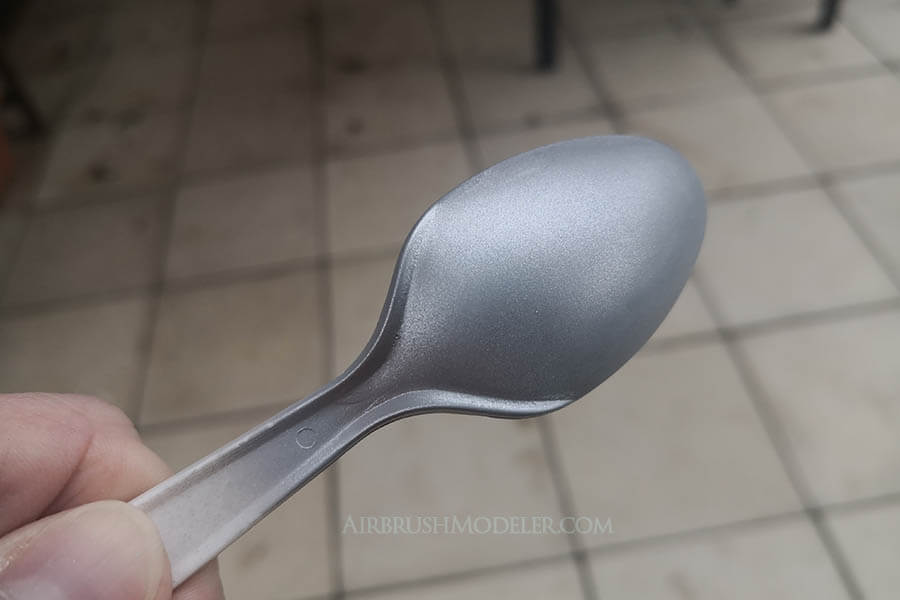
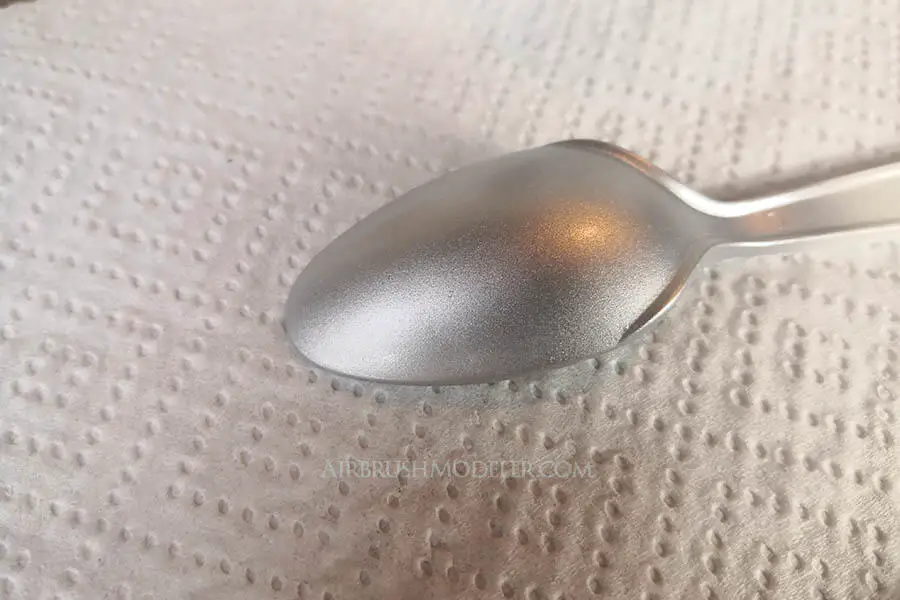
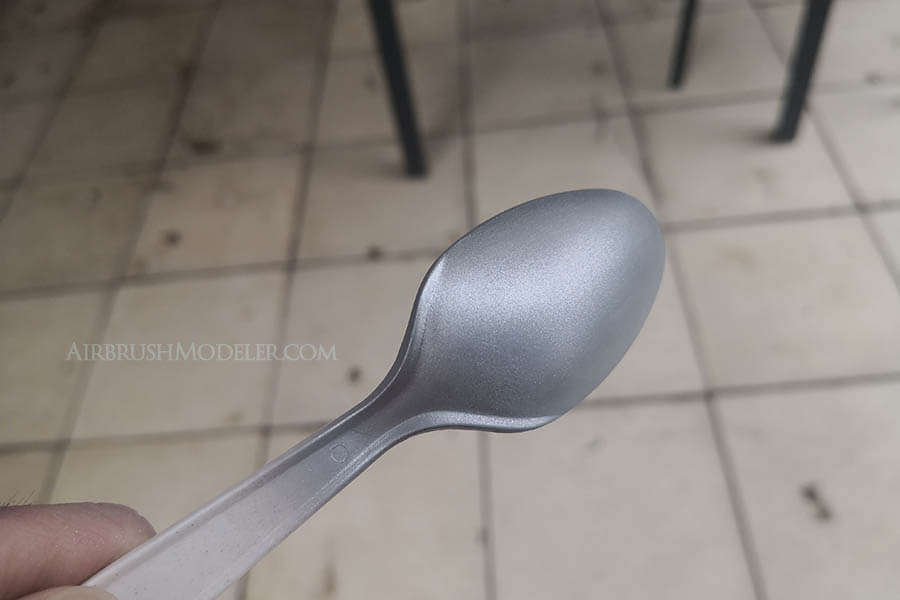
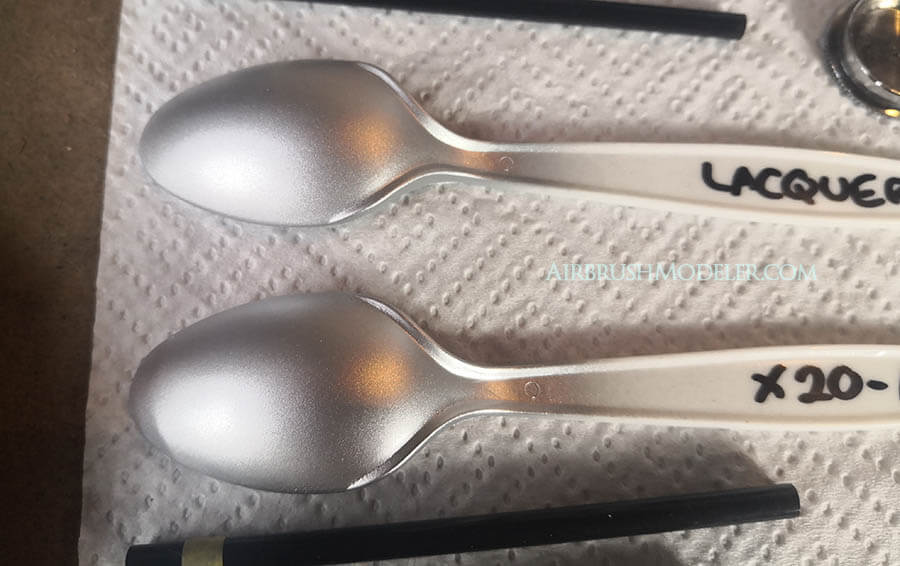
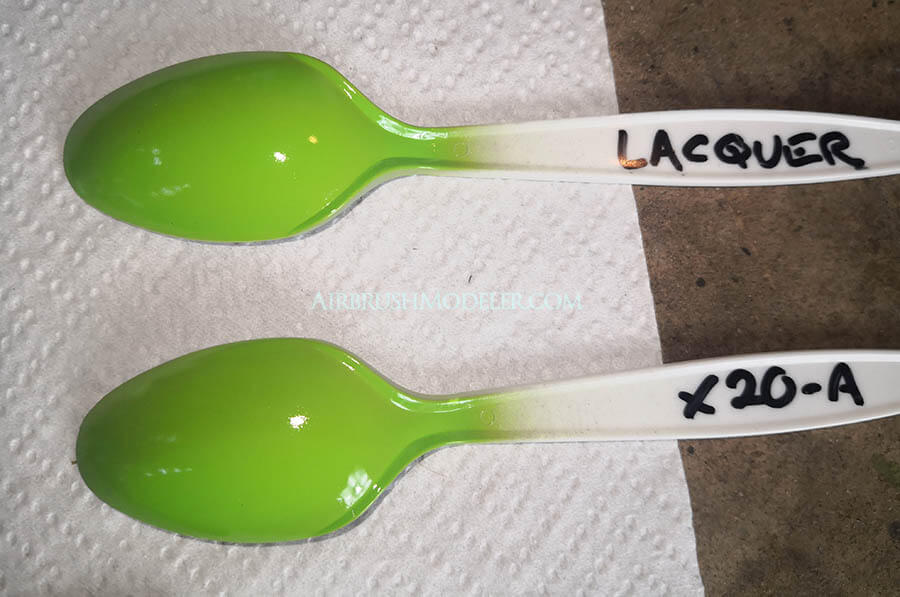
So… as you can see from the following pictures the overall finish on each spoon was pretty much identical.
I can’t see any significant difference at all between the paints thinned with X20-A and those thinned with lacquer thinners.
However the actual airbrushing process is a different matter, and I have a strong opinion on which is better…
The Final Verdict On Thinning Tamiya Acrylic With Lacquer Thinner
There’s no doubt that airbrushing Tamiya acrylic paint is significantly better when using Tamiya lacquer thinner, rather than Tamiya X20-A acrylic thinners.
It sprays smoother from the airbrush at about 10-15% lower air pressure, and doesn’t spatter at all like the X20-A thinned paint did at the same pressure.
It goes down onto the job in a much finer mist, that is, it appears to atomise better, and with a little more experimenting I believe I could consistently get at least a slightly noticeably better paint finish using the lacquer thinned paint.
I expect that if I thinned the paint even more with X20-A acrylic thinner that I could achieve the same quality of atomisation at the same pressure, but this would be a little wasteful of thinners and would also leave the paint more transparent which isn’t ideal at all.
My final verdict is…
- Tamiya lacquer thinner is clearly superior to Tamiya acrylic X20-A thinner for thinning Tamiya acrylic paints, and I see no reason at all to use X20-A for 99% of acrylic airbrushing jobs in the future;
- The only reason I would use X20-A acrylic thinner is if I’m putting a clear coat over decals or a smoke coat over carbon fibre decals to tone them down, as my concern and experience is that lacquer thinners will cause problems with the decals – not every time, but even once is more than I care to deal with.
If you haven’t done so already I recommend you give it a try yourself and see what you think, I’m pretty sure you’ll be converted!
What Model Paint Or Airbrushing Experiments Do You Want To See?
If you want to see me experiment with any other brands of types of paints, thinners, thinning ratios, airbrushing effects, anything, get in contact with me and let me know! 👊
