
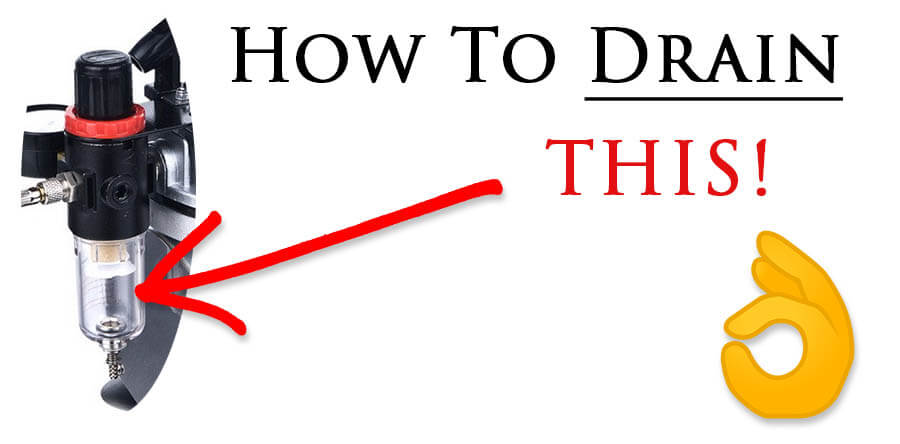
How To Empty An Airbrush Compressor Water Trap
To empty an airbrush compressor water trap you have to depress or turn a release valve located at the bottom of the glass jar on the water trap itself, which then allows the water to drain out.
However, as simple as this sounds, there are a couple more things you have to do to make sure you do this safely and correctly which you’ll find fully detailed below.
And while you’re at it, you may as well do a very quick partial disassemble of the water trap to clean it properly which we’ll go into in this article as well.
👍 And if you’re a little confused and need more information on what exactly an airbrush compressor water trap (or moisture trap) is and whether you need one or not, check out this detailed article for everything you need to know.
Let’s dive right in…
TOOLS NEEDED
- Screw Driver (technically even this isn’t required)
INSTRUCTIONS
- Turn off power to the compressor
- Release any pressurised air
- Place a container under the water trap to catch the drained water
- Disconnect your airbrush from compressor
- Take the screw driver and place the end into the water trap notch
- Angle the screw driver so that the handle is higher than the end
- Apply pressure to the valve so that it opens and the water drains out
- Reconnect your airbrush to the compressor and you’re done!
Step 1: Turn Of Power To The Compressor
Where there’s flowing water involved you don’t want power to the unit you’re working on if at all possible, purely for safety reasons.
Make sure the compressor is off and the power plug is disconnected to be doubly safe!
Step 2: Release Any Pressurised Air
While this probably won’t make much of a difference it’s good practise to do so none the less, as you don’t want highly pressurised air in a machine you’re disassembling in any way.
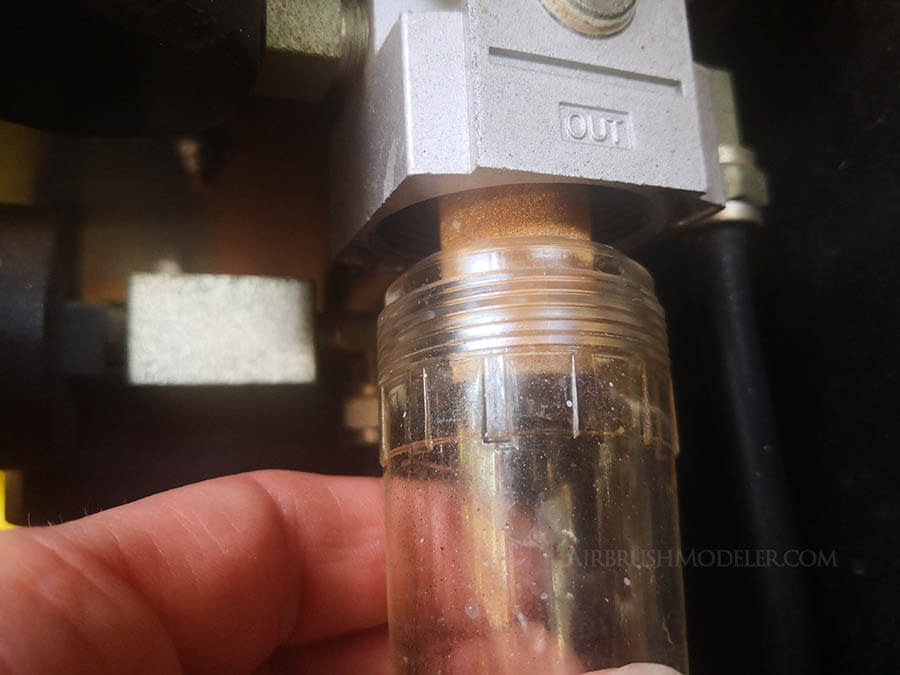
Step 3: Place A Container Under The Water Trap
Don’t let the water drain straight onto your compressor or table if possible, besides the annoying clean up it may damage what it goes on or cause rust on the compressor parts or housing if it’s metal.
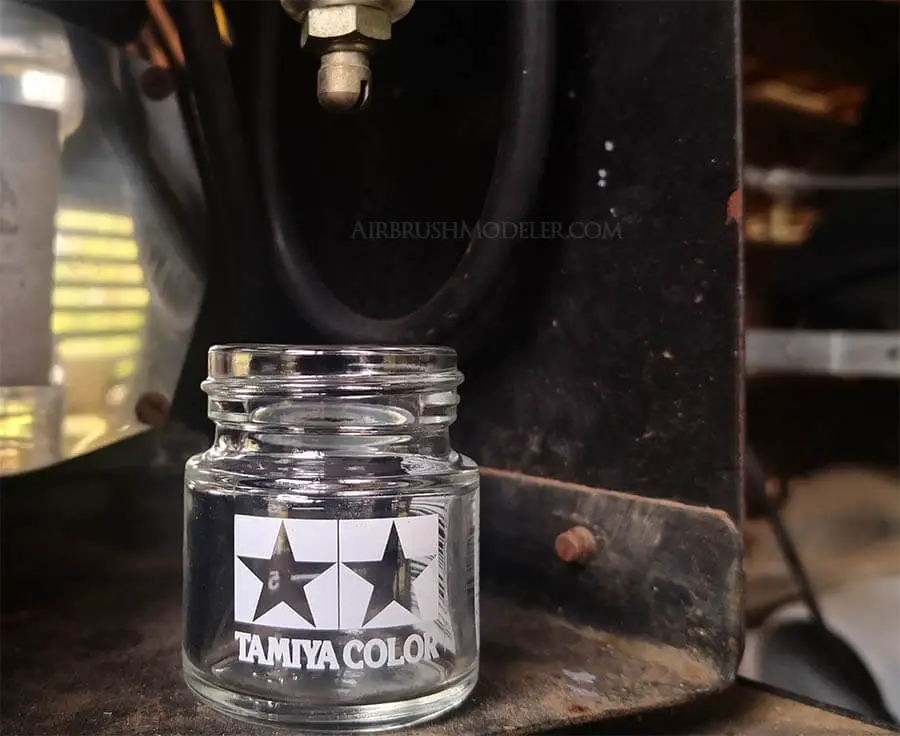
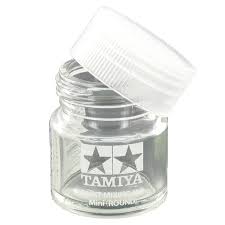
A small jar such as the one shown above will do perfectly and should be enough to accommodate a full water trap on virtually all airbrush compressors.
👍 To pick up some of these handy measuring jars for yourself check out the price and availability on Amazon here.
Step 4: Disconnect Your Airbrush From Compressor
There needs to be an opening in the system for pressure to equalise when the valve in the water trap is opened, otherwise the water will not be able to drain out.
This is most easily accomplished by disconnecting the air hose from your airbrush.
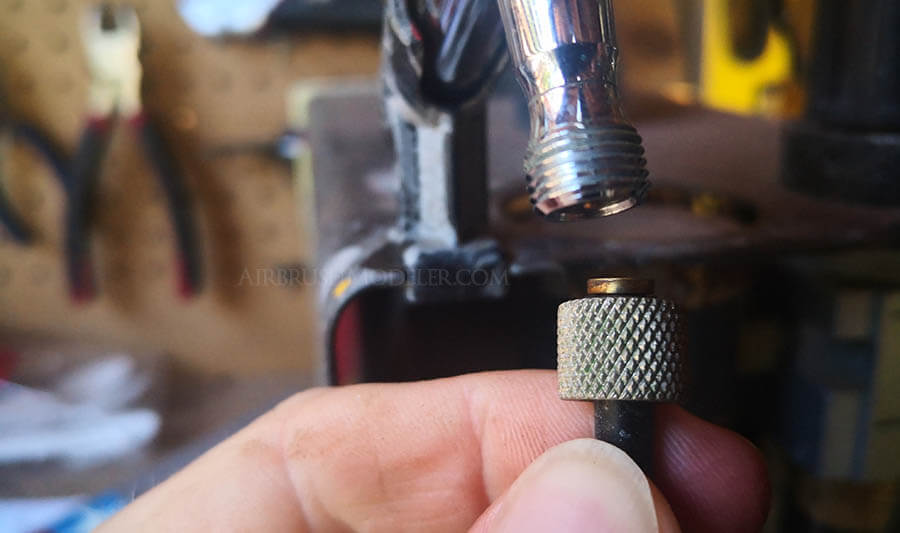
Step 5: Place The Screw Driver End Into The Water Trap Notch
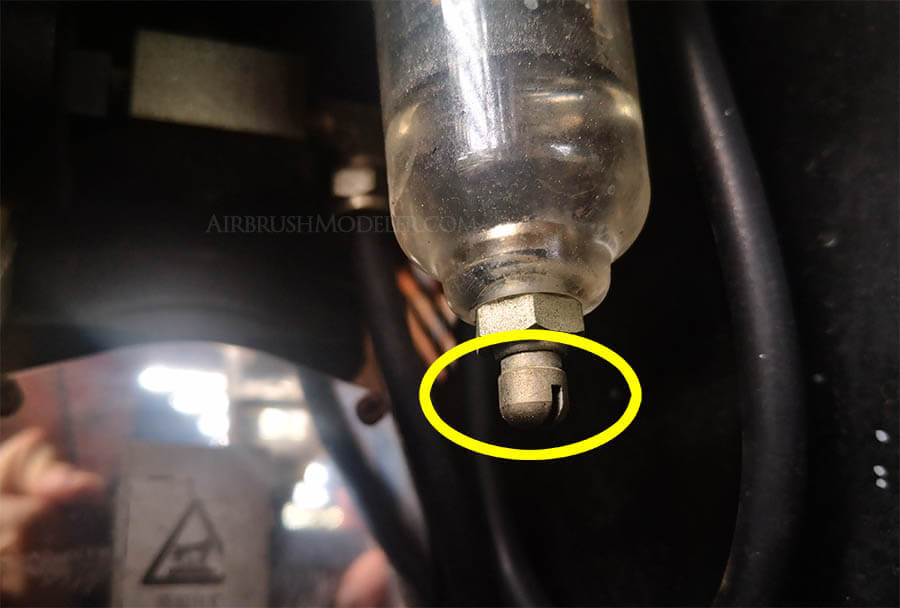
Place the screw driver into the notch of the drain valve as shown in the picture below.
This will assist in properly opening the valve without the screw driver slipping off.
Alternatively you can also simply use your finger to push the valve open but this will be messier.
Note that the nut on the bottom of the water trap does not need to be adjusted.
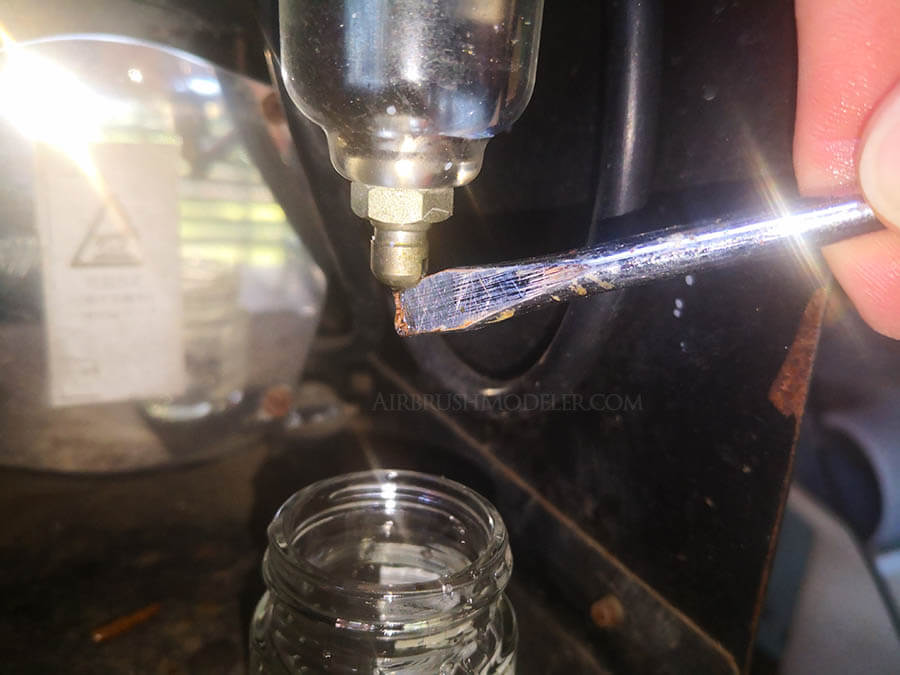
Step 6: Angle The Screw Driver So The Handle Is Higher Than The End
When the screw driver is properly wedged into the notch pull the handle up higher than the screw driver end.
This is so that the water falls right off the end of the screw driver and doesn’t flow down the shaft and onto the handle wetting your hand and spilling all over the place.
Step 7: Apply Pressure To The Valve So That It Opens
Apply upwards pressure to the valve with the screw driver so that it opens and let the water drain into the jar below.
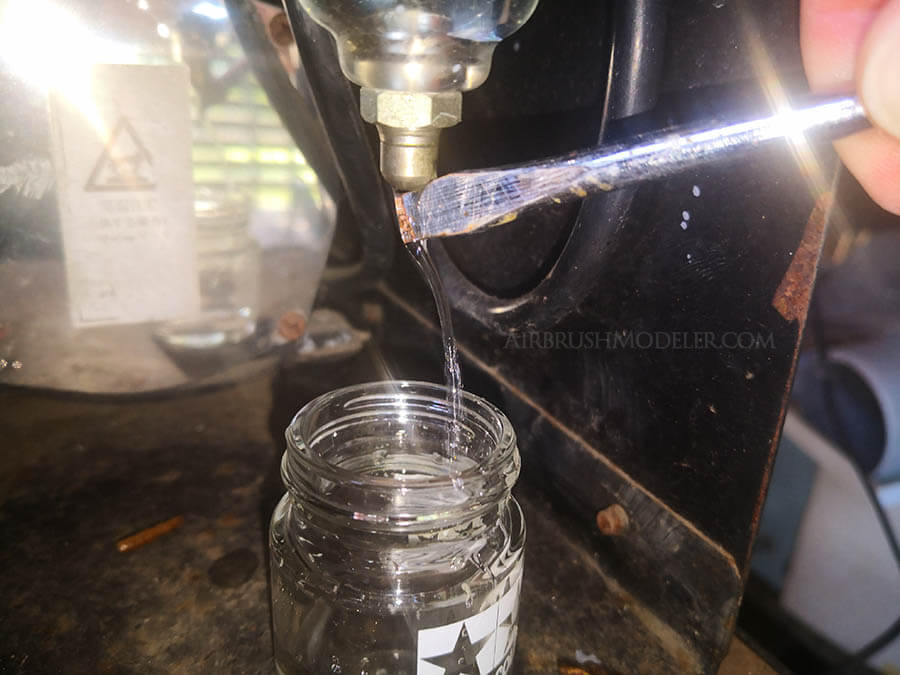
Note that you may have to adjust the position of the jar if the water gets a mind of its own and doesn’t poor directly downwards.
In case the action of the valve isn’t too clear, see the picture below where the valve is closed on the left, and opened on the right.
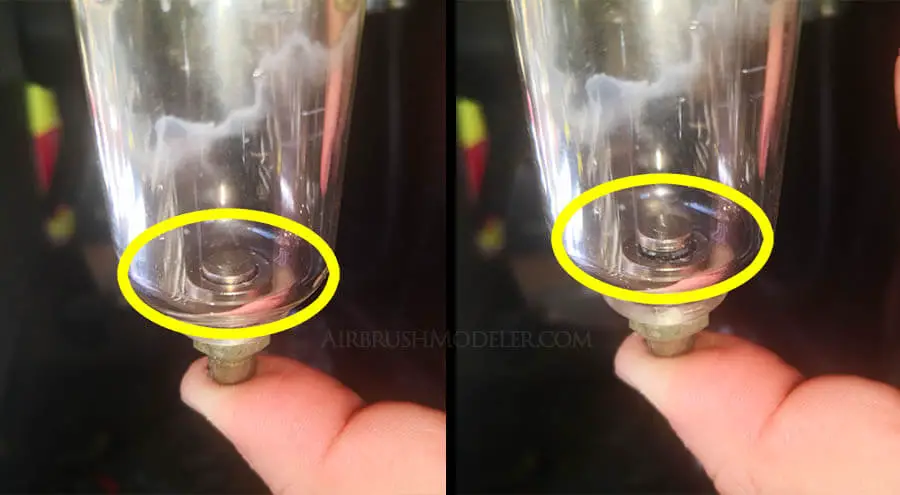
Note that I actually disassembled this part of the water trap in order to take these photos and to clean the parts, and you’ll get instructions for doing this yourself later in this article. 👍
Step 8: Reconnect The Airbrush To The Compressor
When the water is completely drained, reconnect the air hose to the airbrush and you’re done! 👊
While you’re paying a lot of focused attention to your compressor water trap, you may want to give the inside of the glass container a clean as well…
How To Clean An Airbrush Compressor Moisture Trap
To clean an airbrush compressor water or moisture trap you must unscrew the clear jar entirely from the compressor so that you can get a cleaning cloth fully inside the jar.
In actual fact it’s very rare that you’ll need to clean the water trap, and if you find that you have dirty water in the trap then that may be an indication of problems further back in your compressor.
TOOLS NEEDED
- None (other than a cleaning cloth)
INSTRUCTIONS
- Ensure power to the compressor is off
- Unscrew clear jar and remove fully
- Clean jar using a suitable cloth or rag
- Reattach jar and you’re done!
Without further ado…
Step 1: Ensure Power To The Compressor Is Off
When disassembling any part of your compressor or where water is involved (besides loading your airbrush with water based paint etc) always disconnect the power for safety reasons.
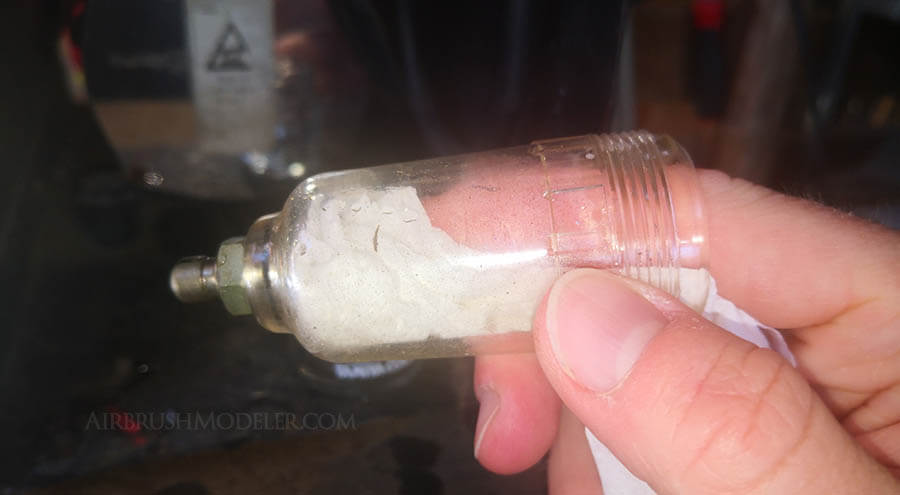
Step 2: Unscrew The Clear Jar And Remove It Fully
Ensure you’re attempting to turn the jar in the correct direction, being anti-clockwise as usual when unscrewing something, and I say this as it can be confusing when orientation of the unit you’re unscrewing is upside down as it is in the case of an airbrush compressor water trap.
If you’ve never unscrewed this water trap jar before or if it’s been a long time you may find it’s hard to remove.
Try to apply only as much pressure gripping the jar as you need to to turn it otherwise you run the risk of breaking the jar in your hand.
Step 3: Clean The Jar Using A Suitable Cloth Or Rag
Once you’ve removed the jar take your cleaning rag and clean out the inside.
There’s no specific need to remove the nut and valve, you should be able to clean the clear jar thoroughly without removal of these parts.
Step 4: Reattach The Jar And You’re Done!
Finally screw the cleaned jar back in, moderately finger tight but not crazy tight, and you’re done! 👊
Final Recommendations On Emptying Your Airbrush Compressor Water Trap
Emptying your airbrush compressor water trap is not overly difficult or time consuming, and will enable your compressor to work at peak efficiency when it comes to pulling moisture out of the pressurised air delivered to your airbrush.
Empty the water trap as often as you want, and do make sure you do it regularly as having significant water present in the water trap can cause its own problems.
