Cleaning the outside of your gravity feed airbrush is a relatively quick and simple job that requires only basic household items and will have your airbrush looking a million bucks in no time.
My Iwata Revolution airbrush below is over fifteen years old, but looks almost brand new in this shot!
How To Clean The Outside Of Your Airbrush Properly
Sure cleaning the outside of your airbrush isn’t quite as important as ensuring the inside and airbrush internals stay squiky clean, but it’s good to get into the habit of making sure that both inside AND outside of your airbrush are in good clean order to stave off any potential problems.
Let’s get to it, ‘cos this thing is filthy…!
Disassemble Your Airbrush Prior To Cleaning
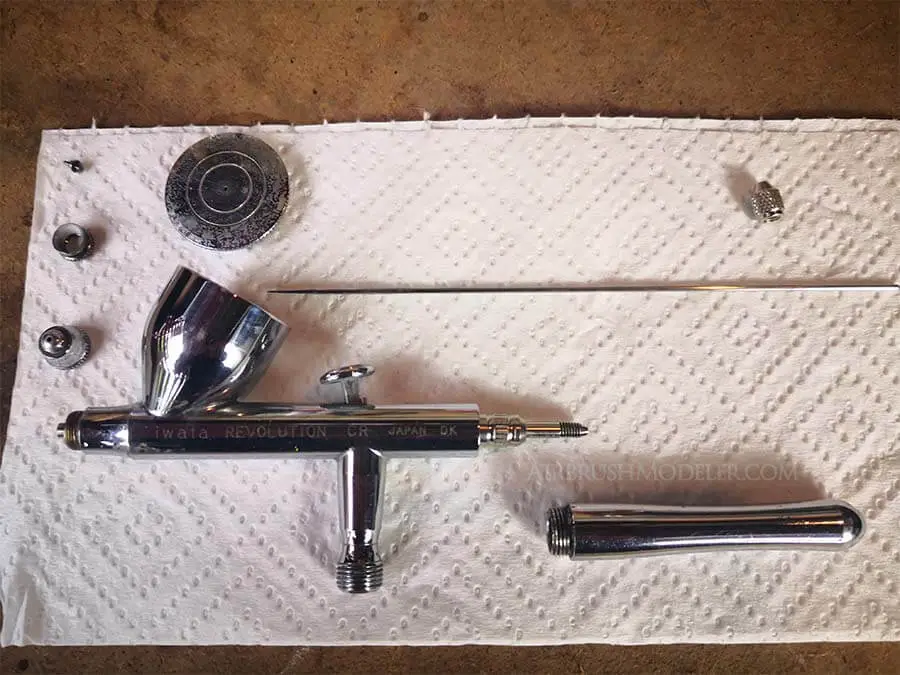
First of all disconnect your airbrush from the compressor and break it down into its main components.
If the trigger mechanism is super dirty you can go so far as to remove it as well, however this is more an ‘internals’ cleaning item and will be covered in different article on deep cleaning the inside of your airbrush.
Use Multi-Purpose Thinners For Cleaning The Outside Of Your Airbrush
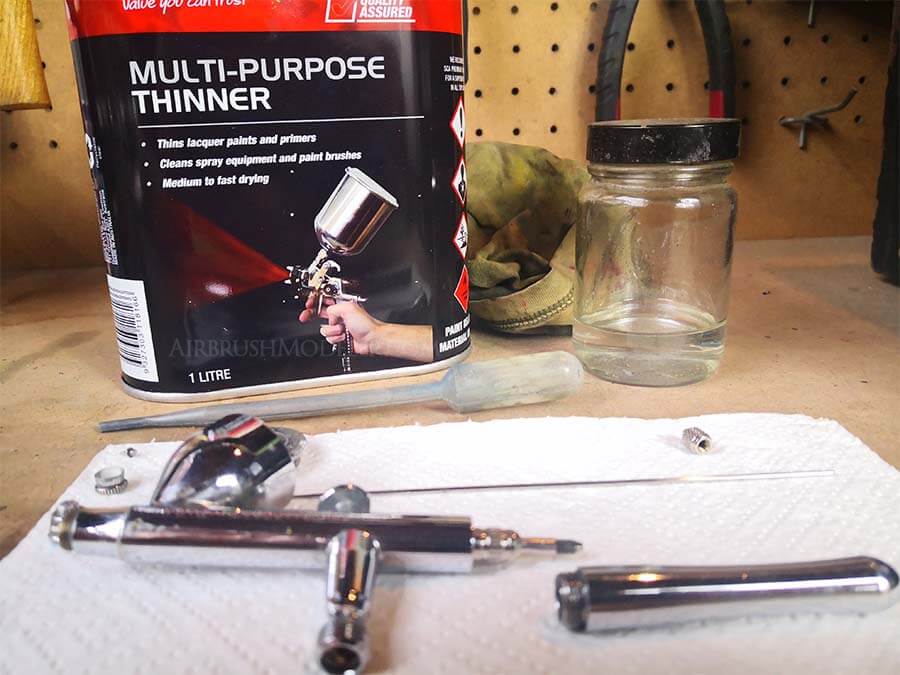
You don’t need any type of special cleaner or solvent to properly clean the outside of your airbrush, standard household multi-purpose thinners is ideal for this job.
NOTE: This will work exceptionally well on metal airbrushes, however if you have any plastic or rubber parts on your particular airbrush use it somewhat sparingly so you don’t damage or mark these sections.
Wipe Down Airbrush With Thinners
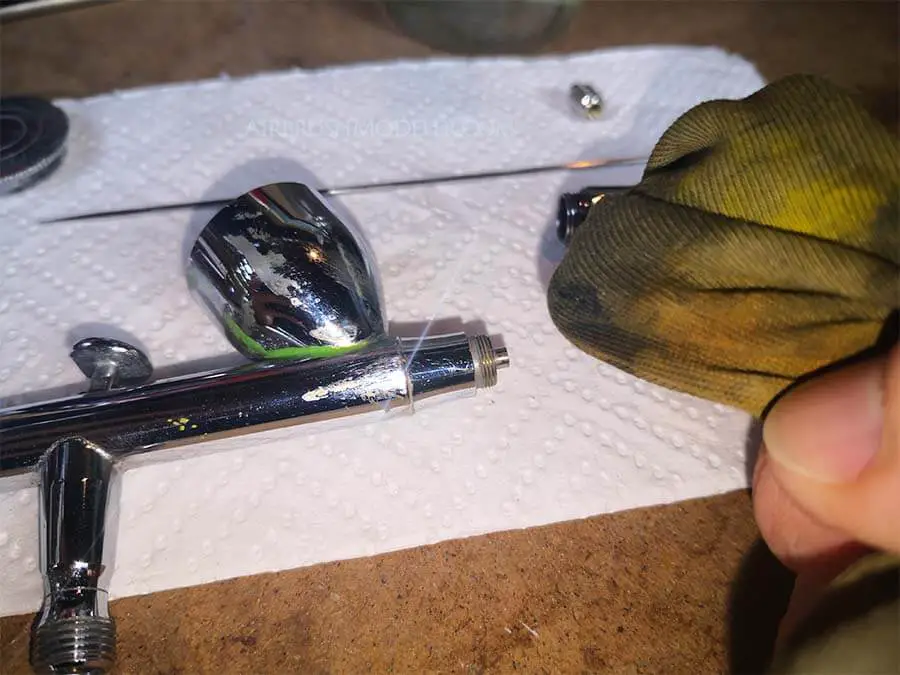
Either dip your rag into your thinners, or use a dropper to wet a small section of your rag, and start wiping the airbrush down.
I use my general purpose clean-up rag for this, it’s not perfectly clean but it’s also not going to leave anything on my airbrush while I do the clean.
Go over the entire outside of your airbrush fairly firmly, focusing on where the paint and grime build up is.
Continue doing this until the majority of the paint and much is gone and you’re left with only a little grime and fingerprints showing on the outside of the airbrush.
Clean Residue Off The Outside Of Your Airbrush With A Clean Rag
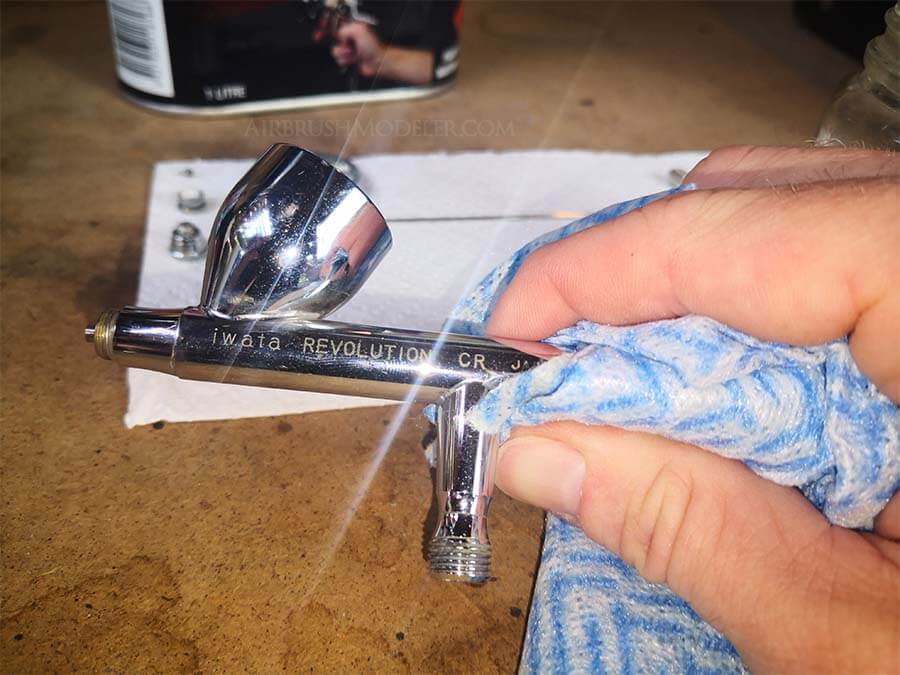
Now grab a clean dry cloth, do not put any thinners on this at all, and use it to fully wipe down the airbrush so that there is no grime or fingerprints left on it.
The fingerprints may be a little hard to get off completely as you still need to hold onto the airbrush, but of course, they won’t harm anything at all so no need to stress.
Cotton Tips For Cleaning Hard To Get To Airbrush Parts
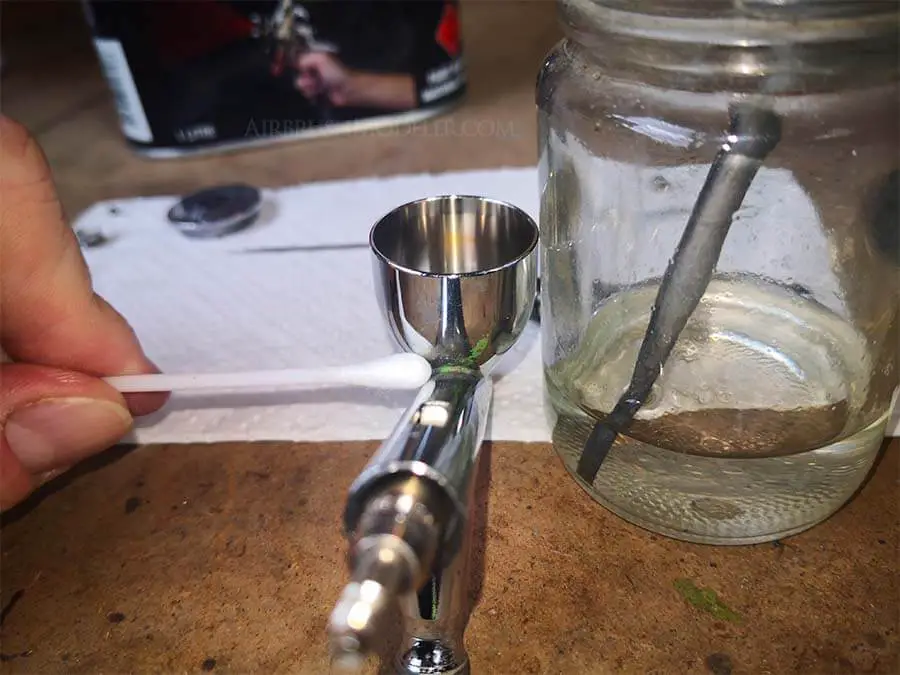
There are some areas on the outside of your airbrush with heavy paint build-up that you just won’t be able to reach with your fingers, and this is where cotton tips come in extremely useful.
Thoroughly wet the end of the cotton tip with thinners and push it firmly into the small spaces to clean them out fully.
Having said this, be careful pushing too hard if you’re working on something like the nozzle components as they can be easily disfigured in some cases which will instantly ruin the spray quality of your airbrush.
However the outside of the main body of the airbrush is quite robust, and you can go to town there with the cleaning.
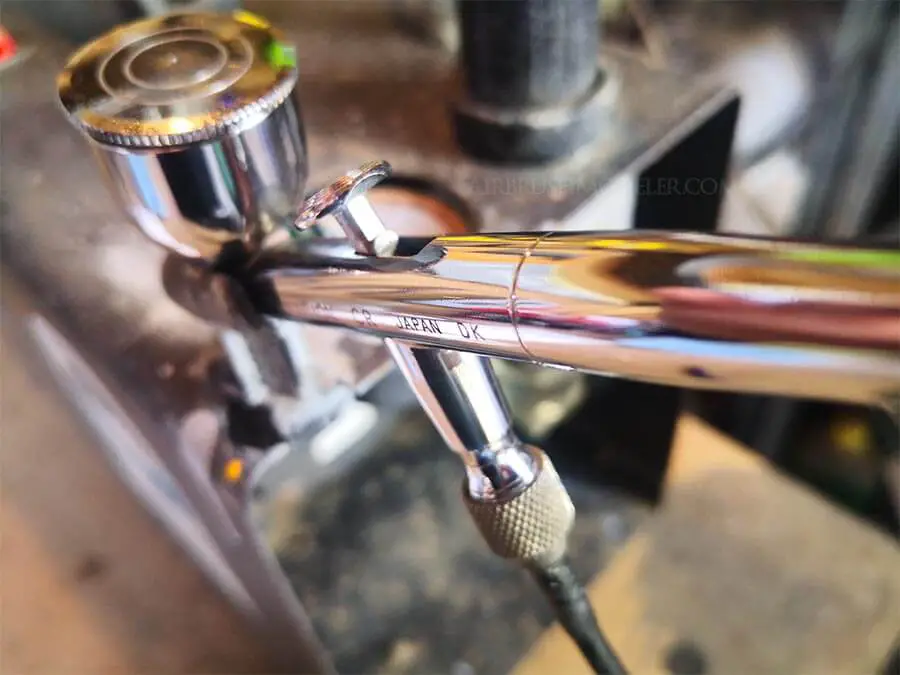
How To Clean Airbrush Nozzle Components
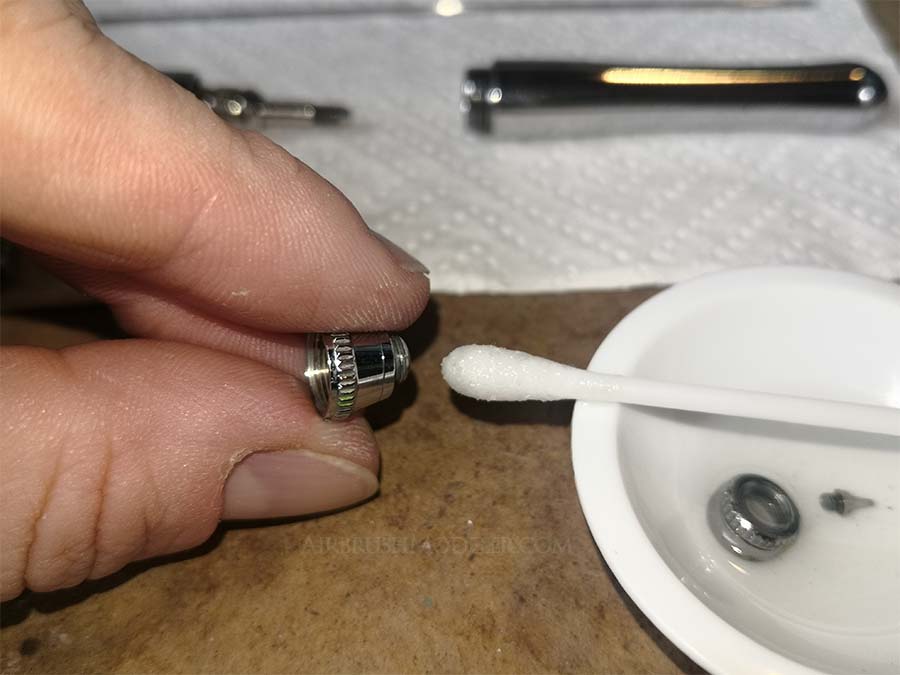
Airbrush nozzle components are usually covered in a good internal airbrush clean, but as it’s perhaps a little easier to clean the outside of them when they’re removed from the airbrush, so we’ll cover them here as well.
First of all I gently remove the nozzle components of my airbrush and let them sit in a small dish of thinners while I clean them.
I use a cotton tip to wipe around the outside of the parts and also pay close attention to the inside as well while I have them off, ensuring that all paint build up is removed.
When it comes to the nozzle tip specifically however, it pays to be caution as this part can damage easily and is expensive to replace.
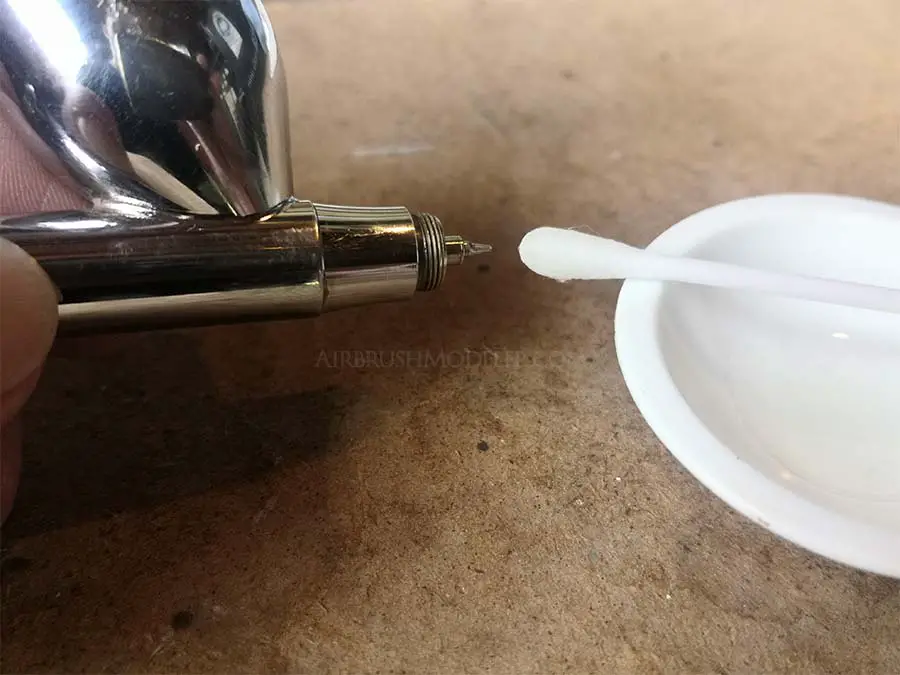
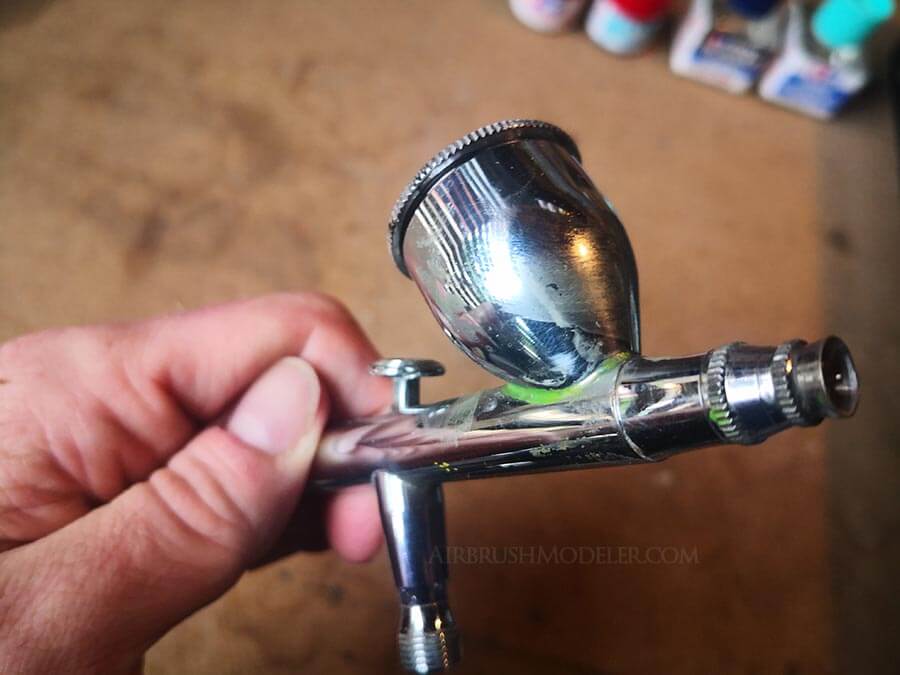
After leaving the nozzle tip in the thinners while I clean the other nozzle parts I then reattach the nozzle to the airbrush to clean it.
This is so that it’s attached to something I can hold properly, and then use a cotton tip that’s wet with thinners to properly clean the nozzle tip.
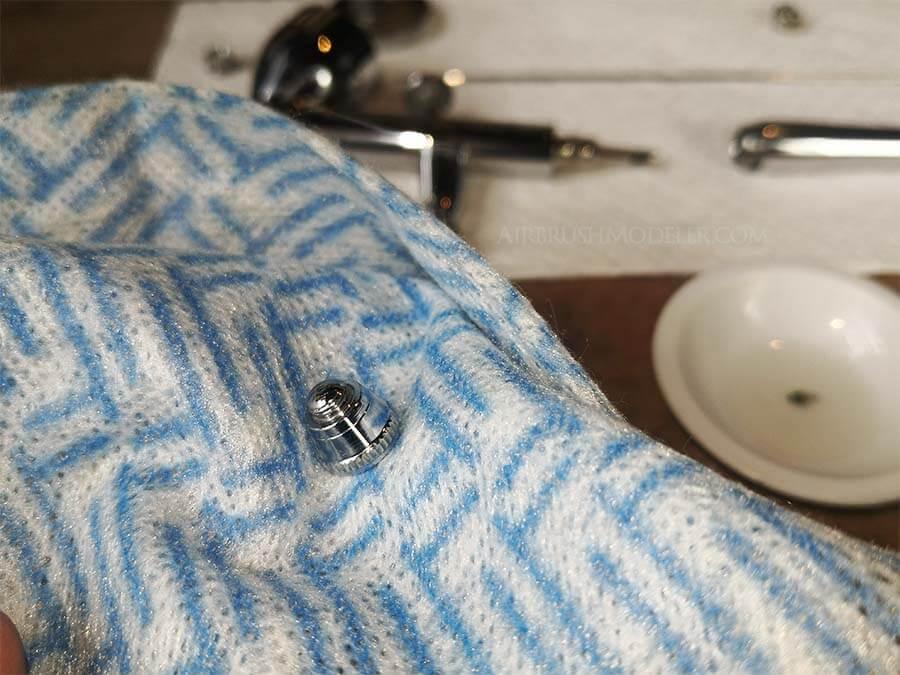
When your nozzle parts are cleaned use the same clean rag you used earlier to get the grime and finger prints off them.
Then reattach all of the nozzle parts being careful with the nozzle tip that it doesn’t get knocked around and bent out of shape.
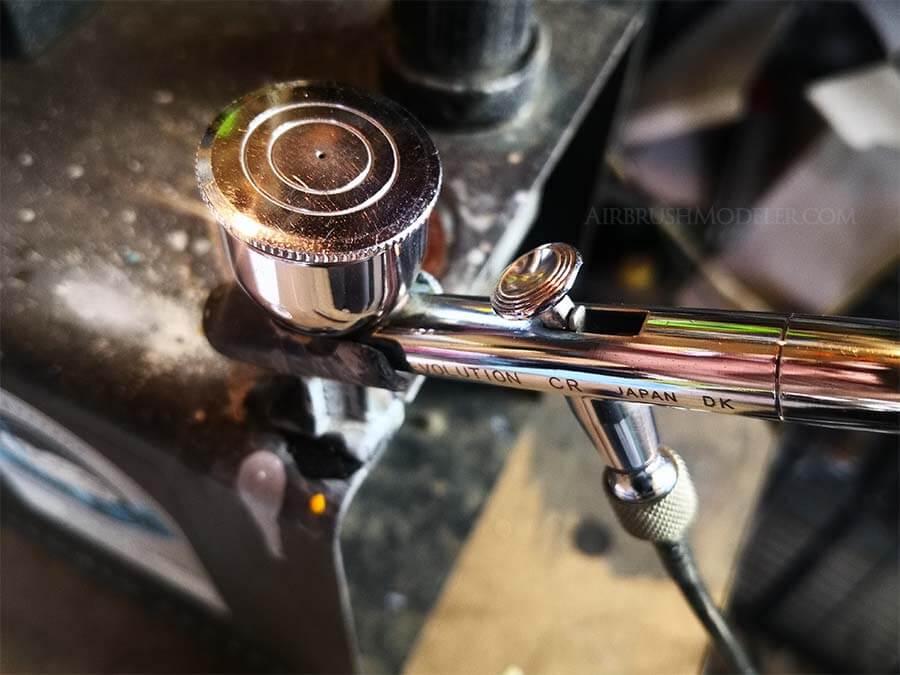
Don’t Forget To Clean The Outside Of Your Airbrush Lid
And finally the lid, which may not be too dirty as a lot of people simply don’t ever use them.
Mine, however, was pretty filthy so it needed some TLC.
Use the same method as you did on the outside of your airbrush body and wipe the lid down firmly with a rag wet with thinners, then get the residue and finger prints off using your clean rag or cloth.
Give your needle a good wipe down to ensure it’s also clean, and you’re now ready to reassemble your airbrush!

Avoid Cutting Compounds For Cleaning Your Airbrush
IMPORTANT: avoid using cutting compounds or cream cleaners on your metal airbrush, as it tends to leave more scratching that it’s removing.
I’ve tested both cream cleaner and various cutting compounds, including Tamiya Fine Polishing Compound, and I always have the area look worse than before I started.
My suggestion… don’t chase a truly perfect polished look on your metal airbrush (at least without a significant investment of time and patience) and let the scratches stay.
Your airbrush will still gleam like it’s almost brand new with the simply clean as outlined above!