
What Can I Use To Thin Tamiya Acrylic Paint
Tamiya acrylic paint is amazingly versatile and can be thinned with more than just the Tamiya’s brand of acrylic thinner for airbrushing.
While the Tamiya brand of purpose made acrylic thinner is the best choice for thinning Tamiya acrylic paints, many modelers have said that they can also thin and airbrush Tamiya acrylics with isopropyl alcohol and also distilled water.
This is due to Tamiya acrylics being water based, so it would make sense that they can be thinned with water…

No Seriously… Can Tamiya Paints Be Thinned With Water…?
Yes, Tamiya paints can be thinned with water and should give very comparable results.
As mentioned above the anecdotal evidence from modelers is that distilled water will, if not quite ideal, will be acceptable.
But just how good is thinning with water compared to the perfect Tamiya acrylic thinners…?
…will it airbrush as smoothly?
…will it gum up the airbrush?
…will it dry funny?
…will it dry quicker or slower?
…will it stuff your model?
…will it cause you to grab your model, airbrush and compressor and hurl them off a cliff as you ragequit building models forever…? 😡
There’s only one thing for it… it’s testing time!!
The Tamiya Acrylic Water Thinning Challenge!
The final word in what you can use to thin Tamiya acrylic paint…
I’m going beyond distilled water…
I’m going where few sane modelers have gone before…
I’m going all the way to the highly questionable fluoride filled, chlorine filled and utterly unfiltered who-knows-what tap water that comes straight out of the faucet! 😬
I’ll be going step by step for you so grab your own plastic spoons or scrap pieces and follow along, doing is always better than seeing with this sort of thing and you’ll probably learn a lot!
OK… I’m going in… 😎🤞
How To Thin Tamiya Acrylic Paint For Airbrushing
Typically I’d thin Tamiya acrylics with the purpose made Tamiya acrylic thinner X20-A to a ratio of around one part paint to one part thinner (1:1), and airbrush the paint at around 18 psi.
These days I eyeball it and mix it in the airbrush cup, largely because I’m impatient and Tamiya paints are amazingly forgiving.
And that’s the extent of my acrylic paint mixing for airbrushing, the paint and thinner mixes exceptionally well and the process doesn’t need to be any more complicated than that.
I realise some people will call mixing in the airbrush cup some kind of sacrilege, but my care factor is totally nil because it saves me time and the results I get are as good as when I thin the paint in a special mixing jar.
HOWEVER…
To get back to the point of this test, we’re thinning with water, so to nail this test we’ll want to be spot on with the thinning ratio, right…?
NOPE. 😐
This is a straight comparison of Tamiya acrylic paint thinned with Tamiya thinners and dodgy tap water, every variable is going to be the same including how and where it’s thinned.
So without further ado let’s take it from the very top…
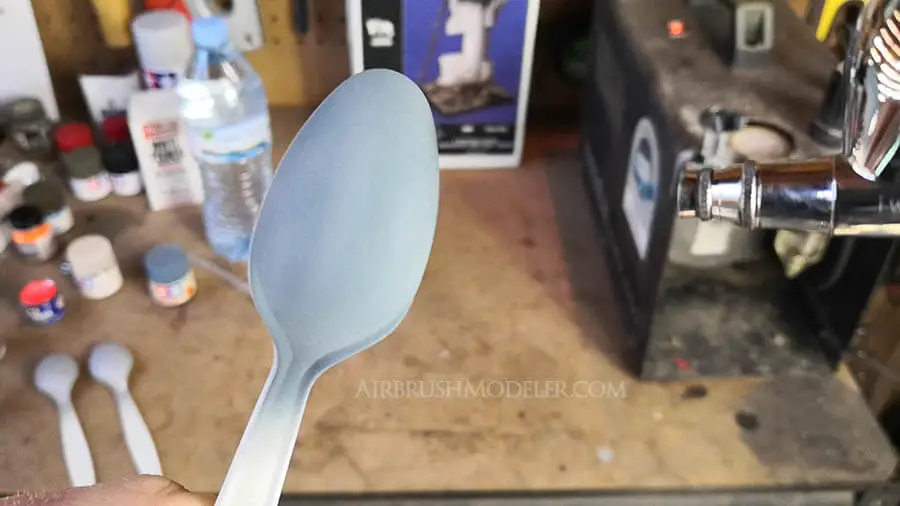
STEP 1 – Prime Two Or More Test Pieces
Standard practise prior to putting a top coat of colour on, prime at least two test pieces using whatever priming process you normally use.
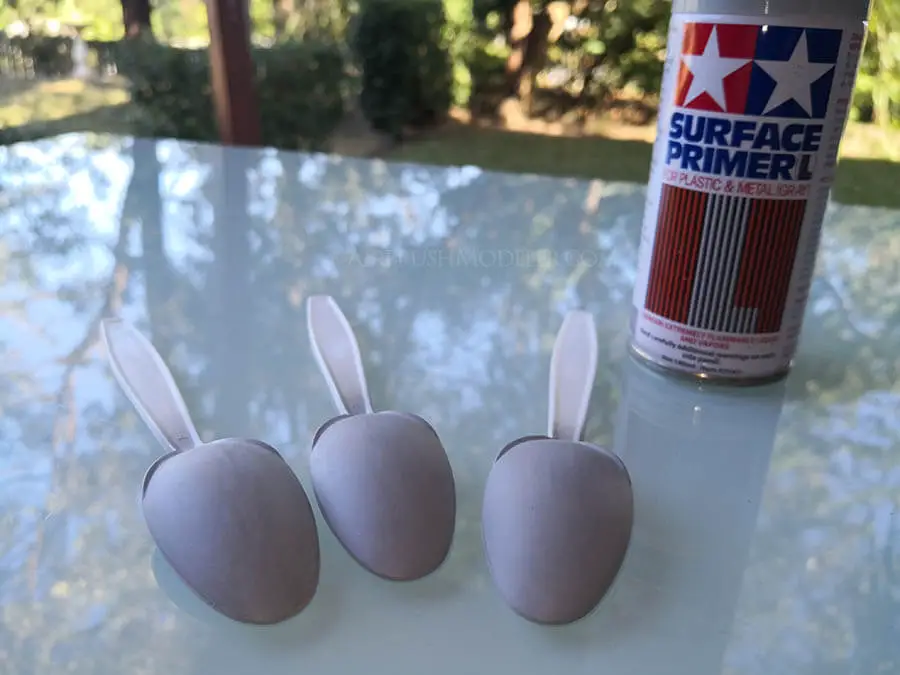
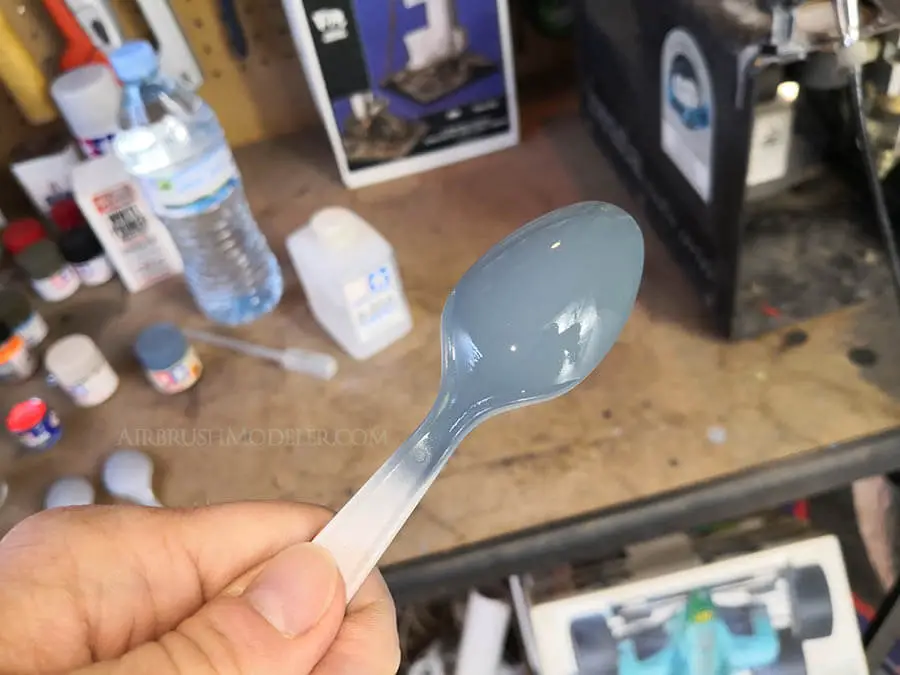
I’m using some super cheap plastic spoons from the grocery store which cost me two dollars for fifty, primed with Tamiya primer straight from the can.
They got a mist coat first and then a single wet coat, with a little more put on for good measure where the curves of the spoon were greatest as the primer tends to thin out on those areas and causes problems when sanding.
I then sanded the pieces reasonably smooth with 800 grit sand paper.
STEP 2 – Get Standard Questionable Tap Water To Thin Your Tamiya Acrylic Paint With
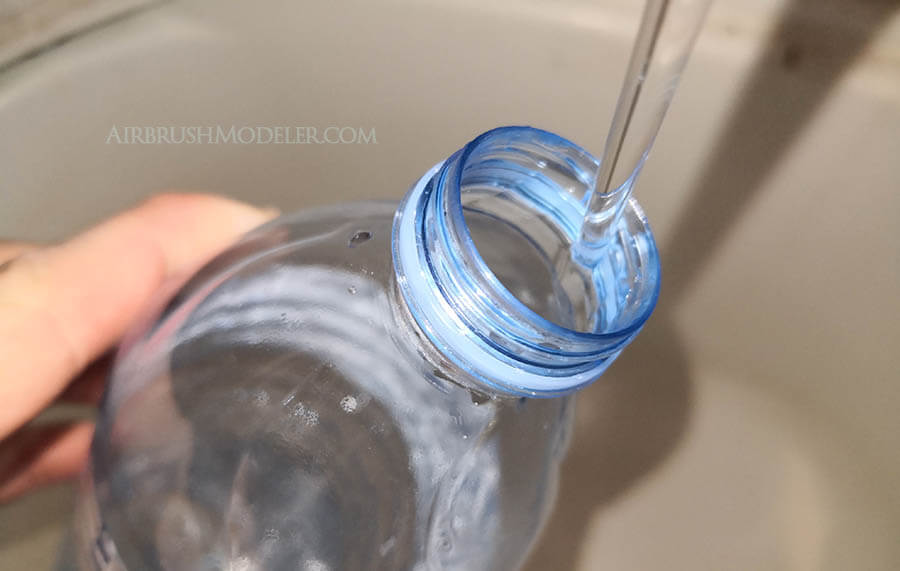
The kitchen, the bathroom, the garden hose, hell you can get it from the toilet if you want, just get yourself a cup of plain water from any tap or faucet around the home.
Put it to the side for now with all of your other airbrushing equipment, we’ll be coming back to this in Step 7 after we’ve done our ‘control’ test. 👍
STEP 3 – Thin The Tamiya Acrylic Paint First With Tamiya Thinners X20-A at 1:1
For this experiment I’m thinning my paint at a ratio of 1:1, so 50% paint to 50% Tamiya acrylic thinner.
This is pretty standard for me and I’m not deviating from the norm at all.
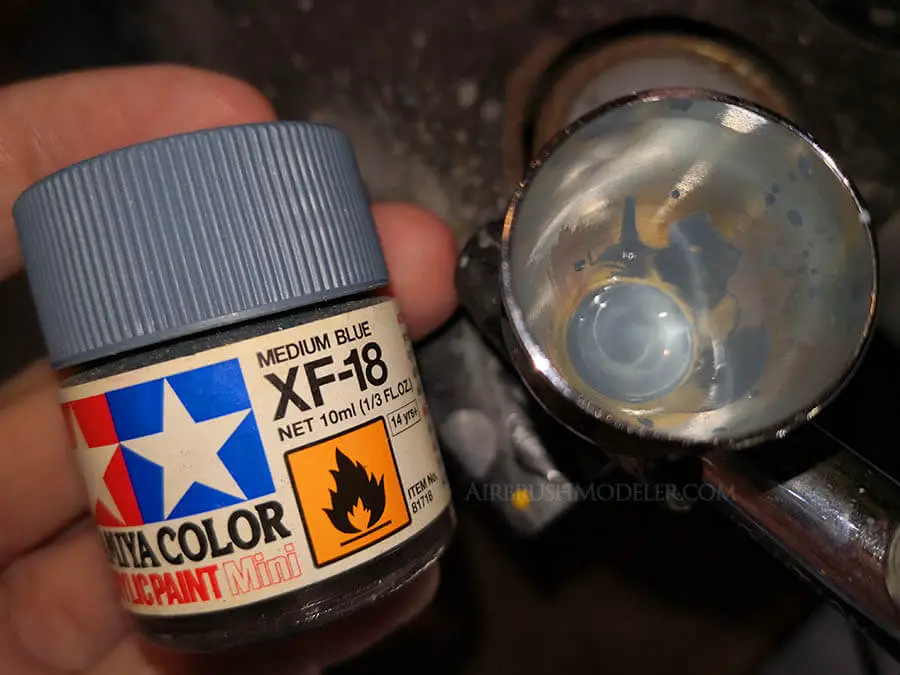
I’ll be using Tamiya XF-18 Medium Blue because it’s essentially surplus paint for me and the blue shows up well on camera for comparison.
I’ll be mixing the paint and thinners directly in the gravity feed airbrush cup because I’m impatient (yeah I’m gunna do it dammit! 😜) and will set my compressor to 18 psi of working pressure.
For more information on working pressure relative to the pressure showing on the gauge check out my article on airbrush compressor features, specifically Step 8.
STEP 4 – Conduct The First Full Test Spray On One Of Your Test Pieces
Do a test spray on a piece of scrap (not your primed part) to make sure everything is good to go, I always use the lids of general purpose spray paint because they’re conveniently located on my work bench.
Start off with a light mist coat and give it a few minutes to dry before moving onto wet coats.
With regards to the wet coats a happy middle-ground is to give the paint a wet look but not to the extent that the paint runs.
This is a flat colour being in the ‘XF’ range and so I never usually make my wet coats quite as ‘wet’ as when I’m using a gloss colour.
Essentially just use whatever standard procedure you’ve always used to get the best coat of paint down on your test piece.
When the test piece looks touch dry (I don’t test it, just look at it) I’ll examine the piece under strong lighting or sunlight if possible to see if I’ve got perfect coverage, and if I need anymore I’ll do another wet coat.
Once this is done put the test piece to the side for later comparison.
STEP 5 – Clean Your Airbrush Thoroughly
Between every paint and colour change I wash out the paint cup thoroughly and also pull out the needle for a proper clean.
I don’t bother going so far as removing the nozzle however, I’ve always found it to be overkill and only remove the nozzle for a deep airbrush clean once in a while.
On a side note, for details on how to clean the outside of your airbrush so it sparkles check out this article I wrote a few weeks back. 👍
Once your airbrush is all back together get yourself ready for the next stage…
STEP 6 – Grab Your Tap Water And Fully Prepare Yourself For Anything! 😬
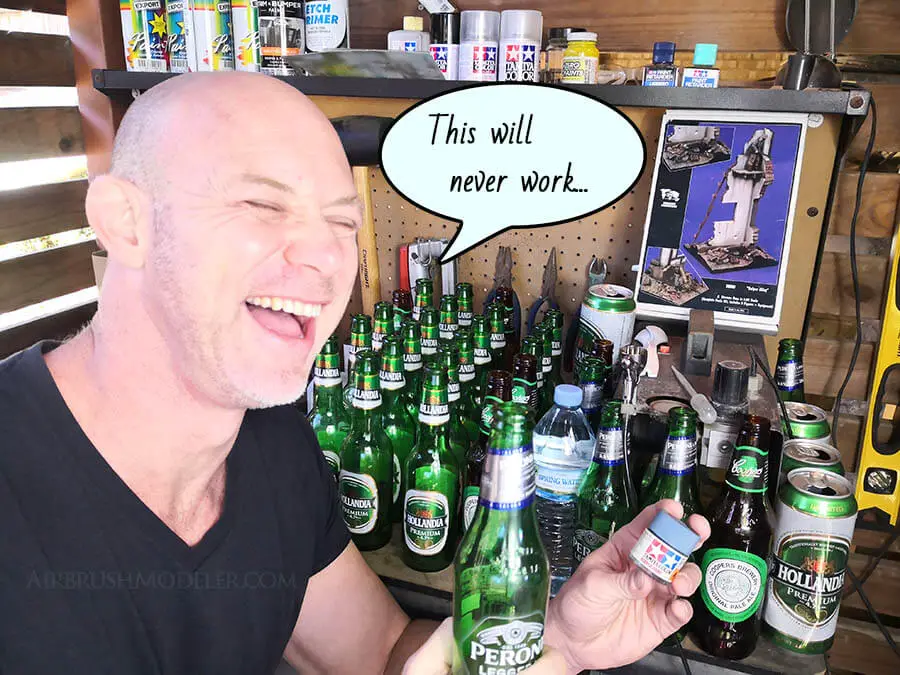
Steel yourself however you need to for the upcoming tap water airbrushing experiment…
…good luck soldier… 😎
STEP 7 – Thin The Tamiya Acrylic Paint With Tap Water
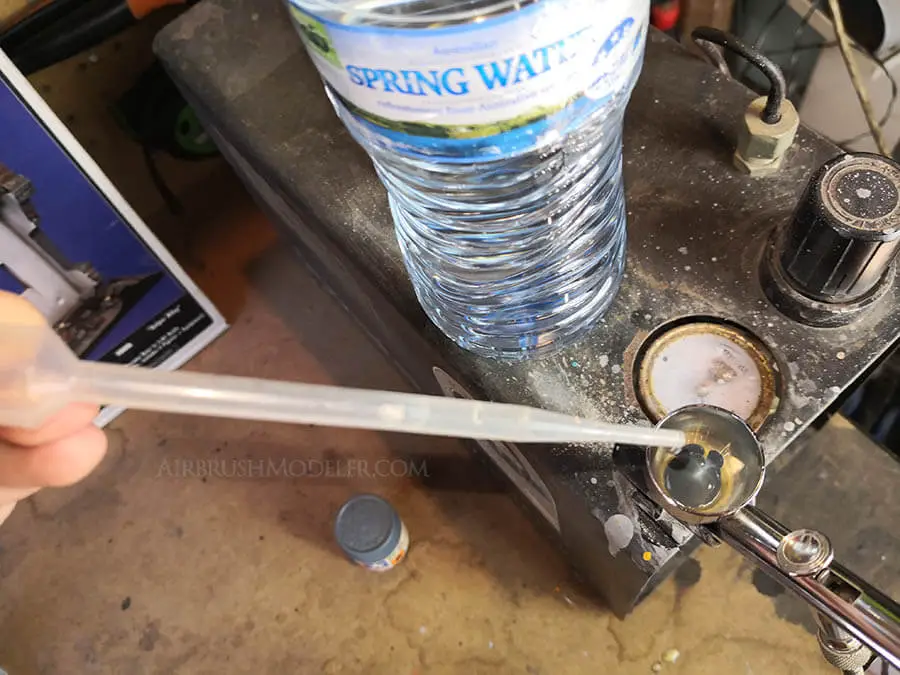
For this experiment it’s important that you thin the acrylic paint using water in exactly the same way that you thinned it with the purpose made Tamiya thinner.
By keeping everything totally consistent, except for the thinning agent, you’ll be able to get the very best comparison on exactly how well it performs.
It’s true that using water may require a different thinning ratio and/or air pressure, but right now my care factor for the extra complexity is totally nil. 😎
If this experiment doesn’t work right off the bat I’ll start playing around with other variables, but for now I’m keeping it as simple as possible.
So that’s a 1:1 ratio (or thereabouts) of plain tap water to paint, with a working air pressure of 18 psi.
Let’s do this… 👊
STEP 8 – Conduct The Next Full Test Spray With The Water Thinned Acrylic Paint
Finally we’re at the point of comparing each type of differently thinned paint!
Airbrush the water thinned acrylic paint on the second test piece in exactly the same way you did it before, a single mist coat followed by one or multiple wet coats as needed.
Some of you may want to do more than one mist coat because that’s just how you’ve always done it, whatever works.
Again, care factor nil if you do it slightly differently to me, the point is to do it exactly the same as you did it with the paint that was thinned using the Tamiya acrylic thinner so that you can to an accurate comparison. 👍
MIST COAT
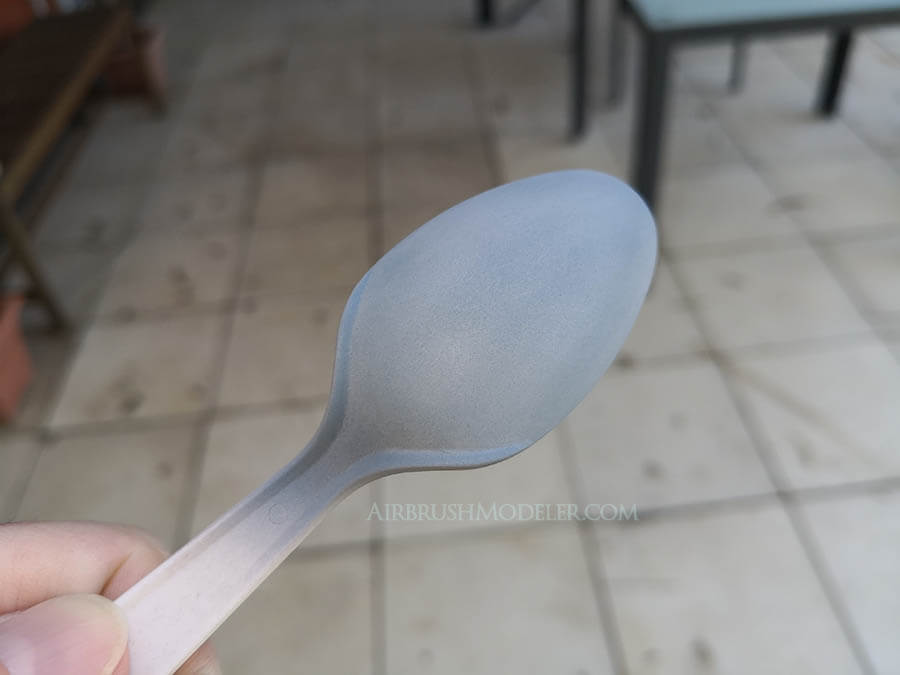
Well, I have to say I’m impressed…
…Tamiya acrylic paint thinned with regular tap water airbrushes almost perfectly, in fact probably better than many other types of paint I’ve airbrushed before using the purpose made thinner.
It atomises and sprays smoothly from the airbrush and lays down with a good quality finish for a mist coat.
The only difference I see is that with the water there is perhaps additional pebbling that wasn’t present with the acrylic thinner thinned paint, but it’s extremely minor.
Once this is touch dry I very gently rubbed my finger over it to remove the pebbling and bring it back to being quite smooth.
This doesn’t seem to have had any negative affect on the finish.
WET COAT
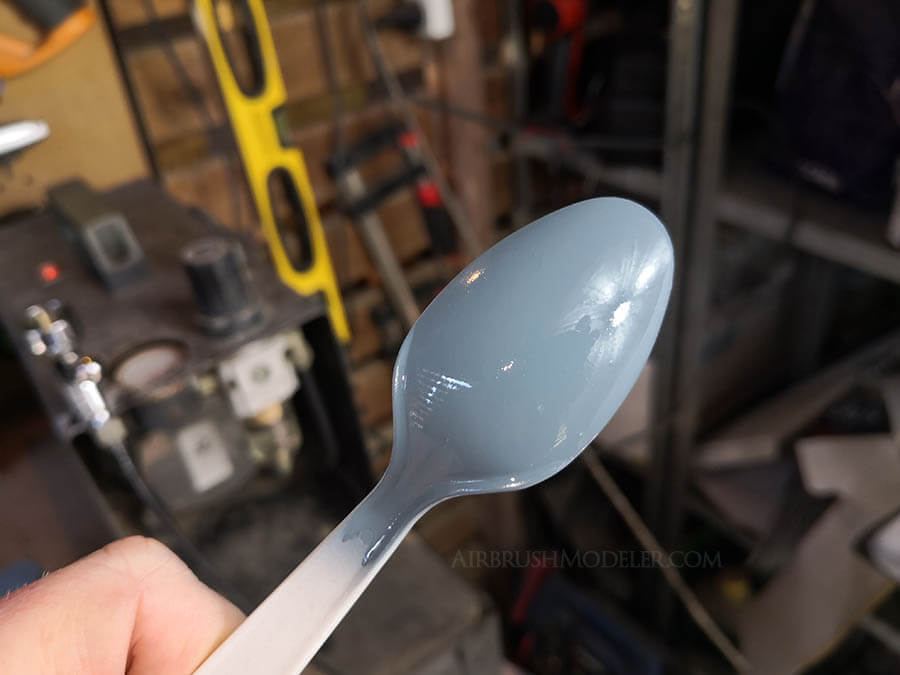
The same wet-coat process as before, see how you go with one and do a second coat if the coverage wasn’t quite spot on the first time.
Again I’m surprised by how well the paint is going down, the quality of the spray work and finish is perhaps 90%+ of the control test using the Tamiya X20-A thinners.
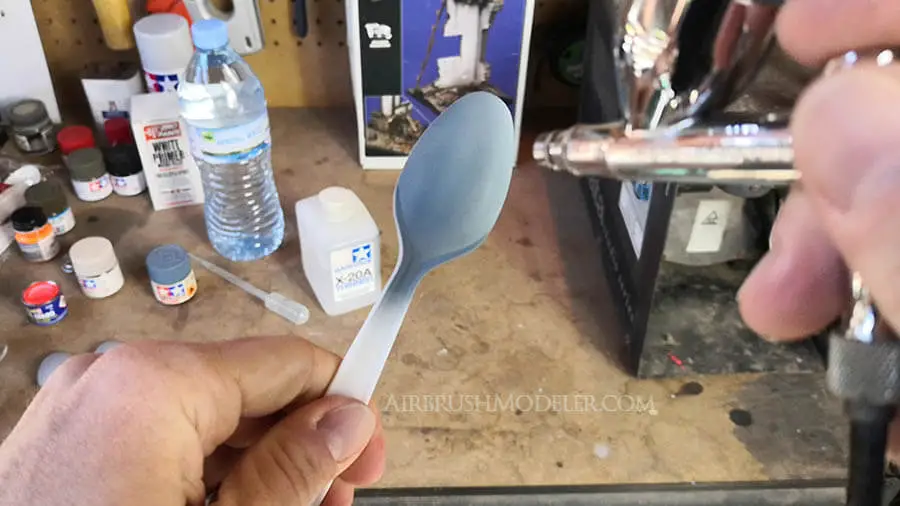
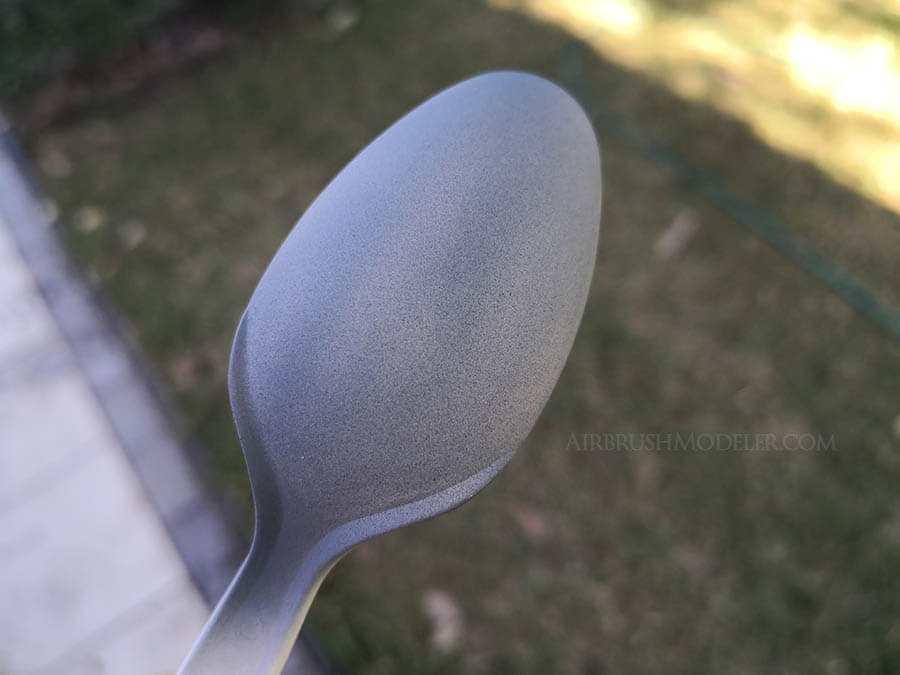
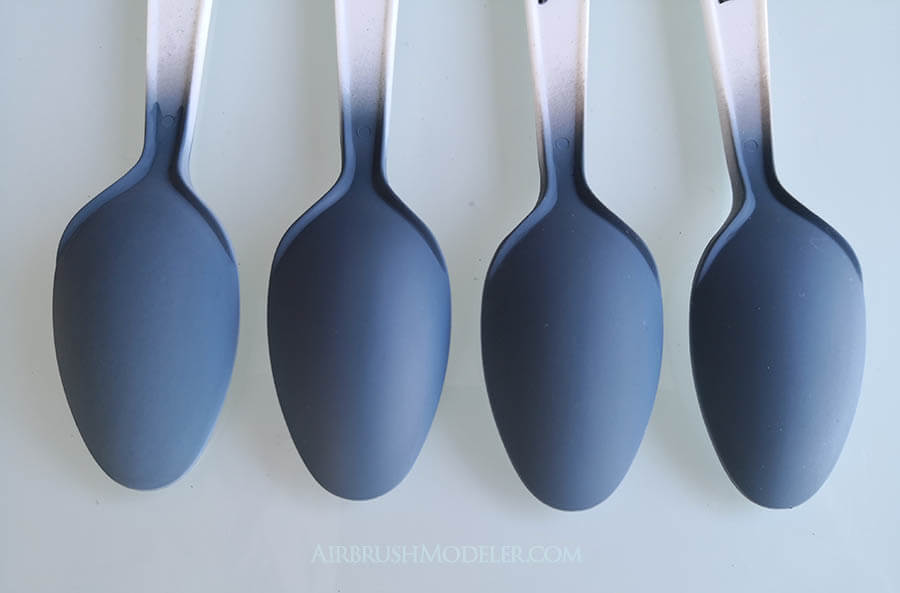
There was one interesting thing I noticed when doing a wet coat with the water thinned paint, and that was the drying time.
It appeared to dry a lot quicker and I could literally see the moisture go out of the paint right before my eyes as you can see on the edges of the spoon shown below, however the end result when dry was no different.
So Yes, there is a difference when airbrushing, but it’s extremely minor, and so far I’m 100% confident of using regular tap or hose water to thin Tamiya acrylic paint. 😀
BUT…
How will the finished product come out when it’s fully dried…?
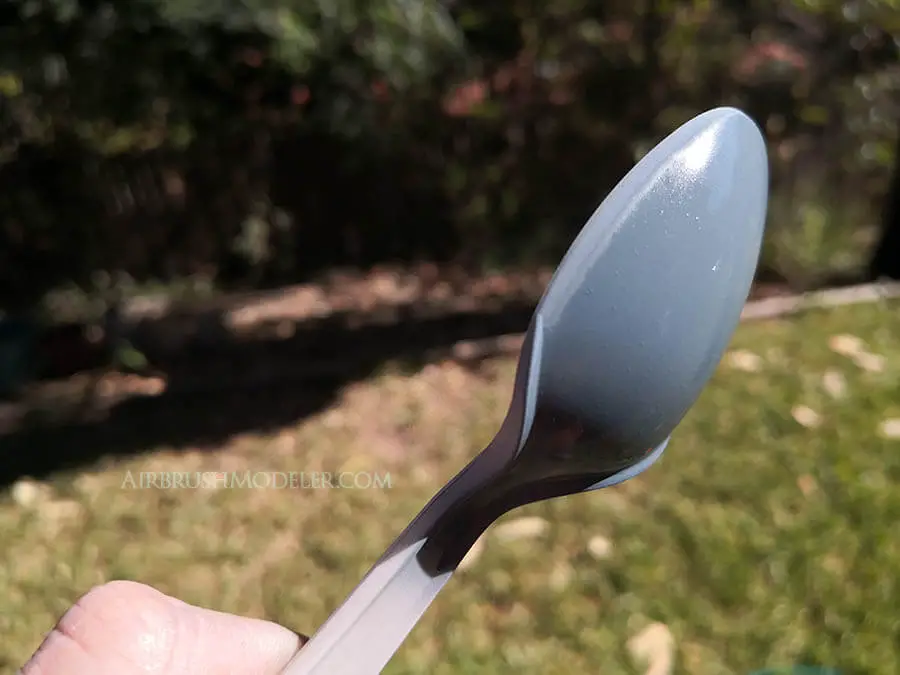
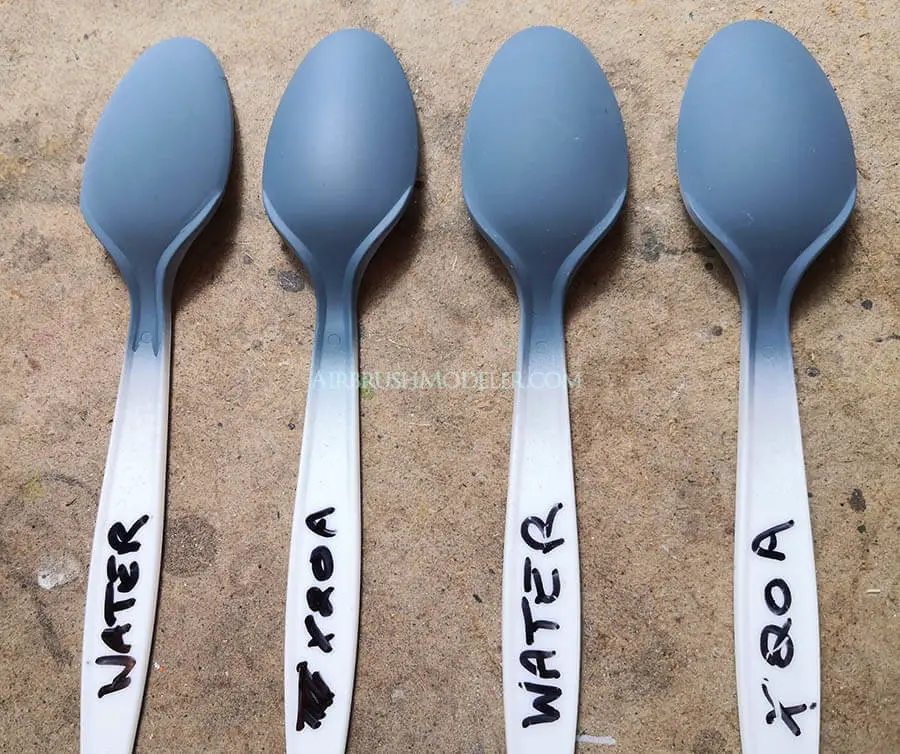
STEP 9 – Compare The Two Results
And the verdict is…
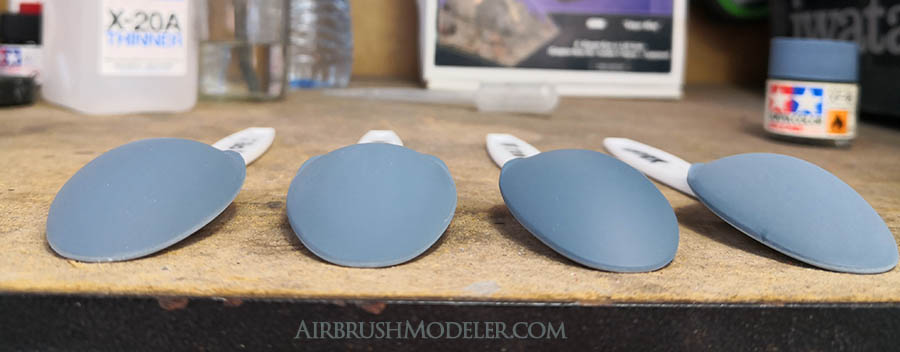
Check out the test pieces above (I did two of each) and I challenge you to pick which two were thinned with water…
Seriously guys they’re basically identical to one another, and I simply can’t tell the difference.
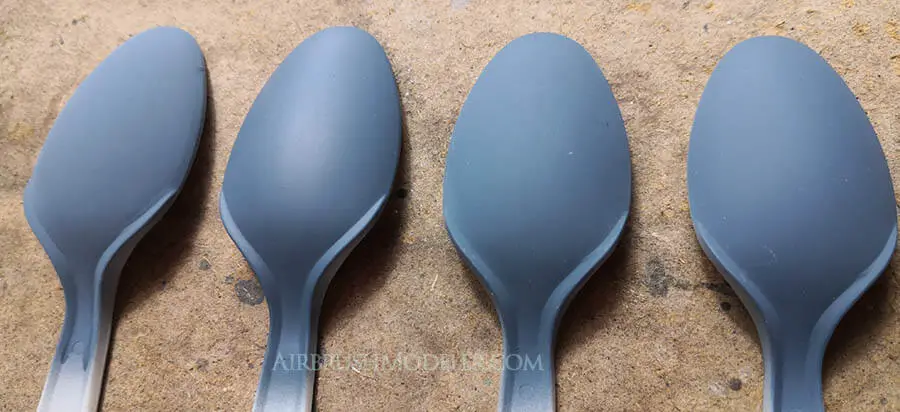
If I hadn’t written on the spoon handles there’s no way at all anyone would tell them apart.
The airbrushing spray quality of the water thinned paint was on par with the X20-A thinned paint with the same thinning ratio and air pressure, and the finished product is essentially identical.

And if I had to say anything at all about the difference in finish it would be that the spoons painted with Tamiya X20-A thinned paint dried just a fraction darker and the water thinned paint a fraction lighter.
For me, given it’s hardly noticeable, that’s not a problem at all. 👍
But Wait… Seriously Is It REALLY Ok To Use Tap Water To Thin Tamiya Acrylic Paint?
Based on the tests conducted, YES, it’s totally ok to use tap water to thin Tamiya acrylic paint and if I run out of Tamiya X20-A thinners in the future I will use tap water with absolute confidence.
Sure I could buy some distilled water to have on hand just in case, but…
…nah, I just don’t see the point at all. 😎 Care factor nil…
Remember, with airbrushing and modeling in general, practice really does make perfect, so give this experiment a go yourself and let me know how you get on. 👍
What Model Paint Or Airbrushing Experiments Do You Want To See?
If you want to see me experiment with any other brands or types of paints, thinners, thinning ratios, airbrushing effects, anything, get in contact with me and let me know! 👊
